Camera Firmware: How to Update It and Why
Did you know that your camera can get many features after a long purchase, such as faster autofocus, better AF tracking, and improved menus?
In this article, I will guide you through the entry and exit of firmware updates. First, I explain what firmware is and why it is so important. Then I take you through a simple, step-by-step process of updating the firmware to your camera so you can improve your camera features quickly and easily.
Let’s go inside and start with the basics:
What is camera firmware?
Firmware refers to software that your camera uses to operate it. It is located on the microprocessor inside your camera, and controls the features and functions attached to the menu and camera buttons, as well as autofocus algorithms, image processing, noise reduction, and more.
Note that firmware differs from your camera hardware (i.e., its visual components) – and it is the firmware and hardware interaction that allows you to set exposure, automatically focus on themes, and even take pictures.
Now, every camera is sent via firmware to its microprocessor. And that firmware will work, usually well, for the rest of the camera life.
However, more often than not, manufacturers may release firmware updates, which modify the firmware to add new features and features.

Why are firmware updates important?
Firmware updates usually contain one of two items:
1. Enhancements that improve camera performance (e.g., improved autofocus performance)
2. Correction of camera problems
So if you want your camera to work with high performance, as soon as the manufacturer releases an update, you should install it.
Firmware updates are not required. Some cameras never have updates. And some get only minor updates or fixes, which may provide solutions to problems you do not like. Some updates add languages or add support options of your choice (such as wireless functions or GPS modules). It is up to you to update the firmware update.
My opinion? Update the firmware whenever you can. It is a simple procedure, as I show below, and it can provide excellent improvements, not to mention serious problems. Some firmware updates respond to problems experienced by users after camera launch, and these can be very serious (such as battery power issues, unexpected camera shutdown, and autofocus problems).
For that reason, I recommend that you check updates regularly – perhaps every few months or so. I also recommend that you check as soon as you purchase a new camera, as it may not come with the new firmware already installed.
If your camera is on the old side, do not expect regular updates. But check every year, because you never know what might be released.
If you have never checked the firmware updates, now is a good time to do so. And if your camera does not have the latest firmware, read my instructions below which explain how to install it.
Does your camera have the latest firmware? How to check
To check for firmware updates, you need to know which firmware is running your camera right now.
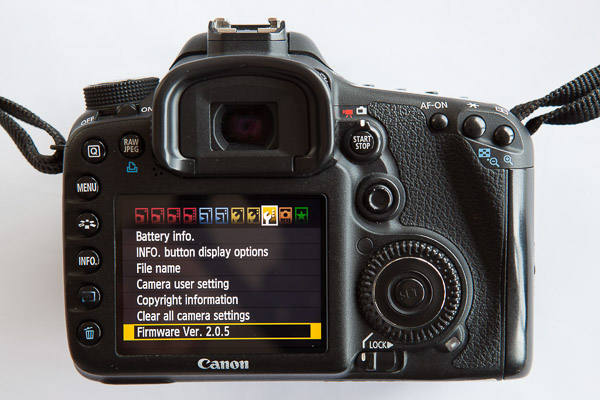
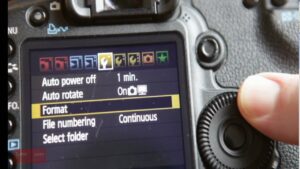
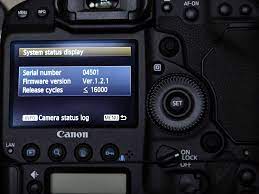
This information can be found somewhere in your camera menu, although finding it is different from every camera and not always visible. Feel free to browse through all menu pages; alternatively, just look at your camera manual.
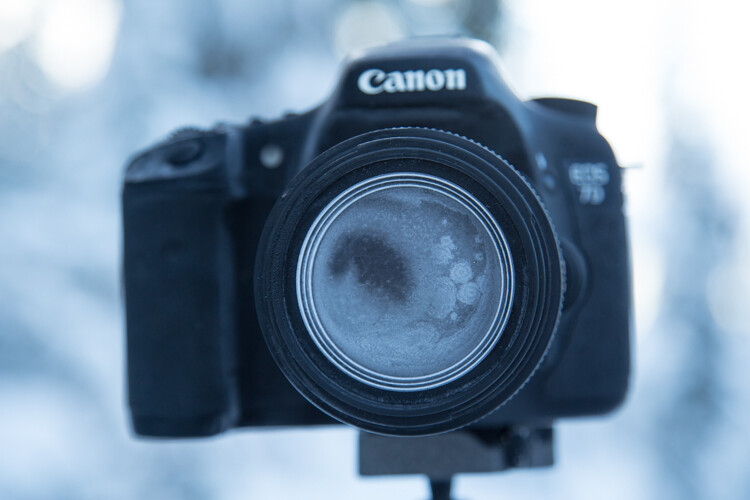
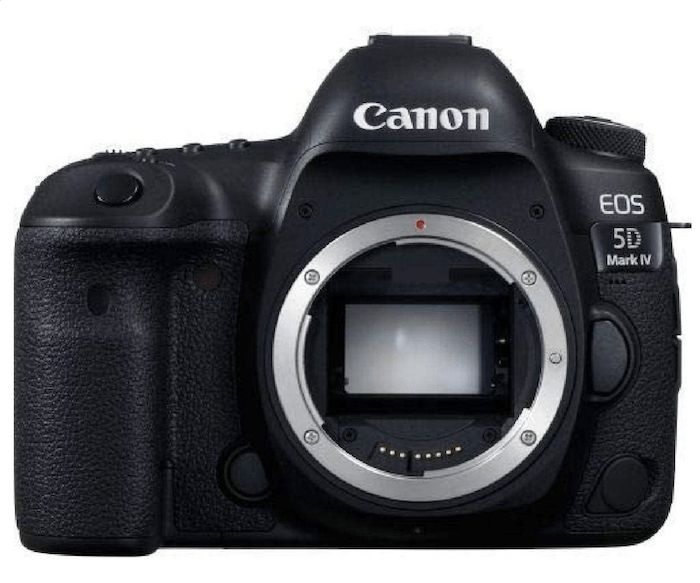
When browsing, check out options such as version, Firmware, or Firmware version. Here are the firmware details for my Canon DSLR:
Then find your camera support page on the manufacturer’s website. Here are links to a few support pages:
• Canon
• Nikon
• Olympus
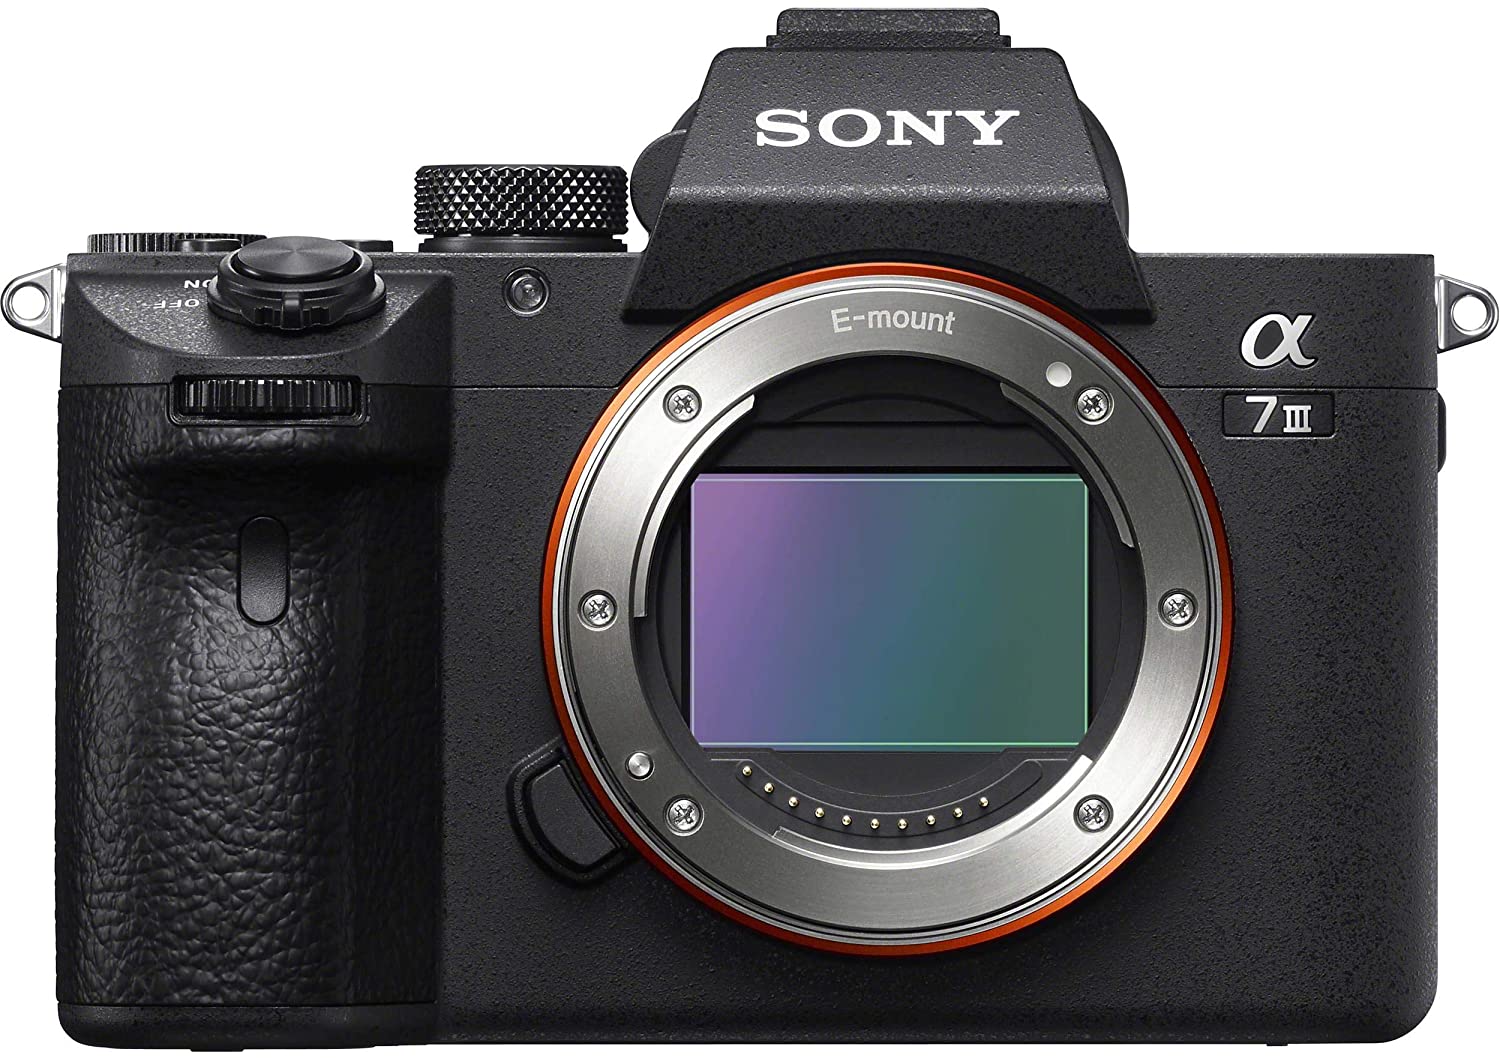
• Sony
• Pentax
• Panasonic
• Fujifilm
Once you have logged into the website, just find your camera model. (This is important; firmware is not compatible with most cameras!) Then, when prompted, select the Firmware link.
Updates firmware on Sony and Olympus cameras
Performing firmware updates on Sony and Olympus cameras is less involved. I have explained the basic steps here, but – at the risk of sounding like a broken record – you need to read the manufacturer’s instructions. Here are the detailed instructions for Sony cameras, and here are the detailed instructions for the Olympus cameras.
Camera firmware: last names
Updating your camera firmware offers great benefits – so I recommend you get started today! If you have not checked the firmware updates, do so now – and if you have one, make a review plan in a few months.
In the meantime, enjoy the current firmware of your camera!