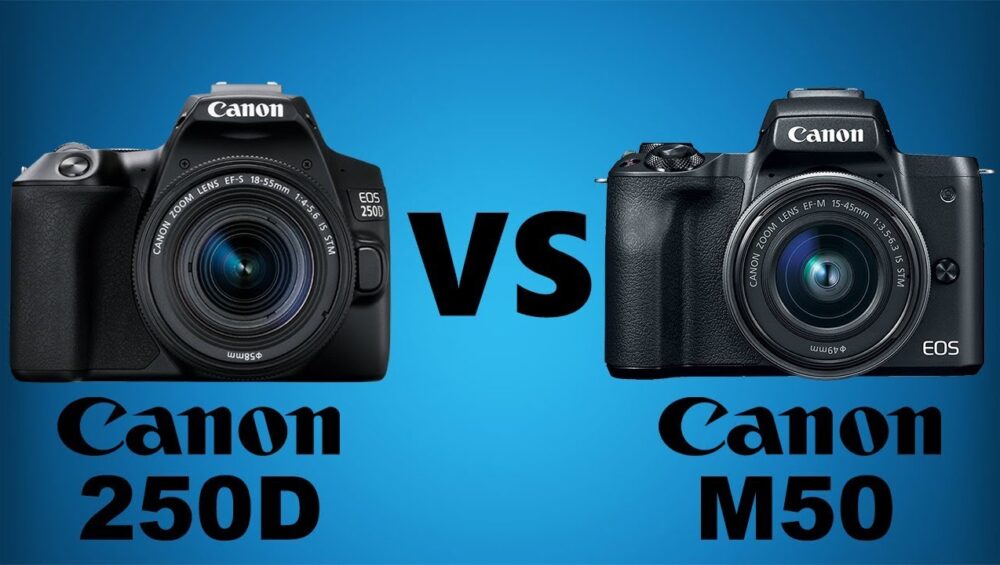
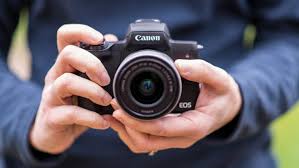
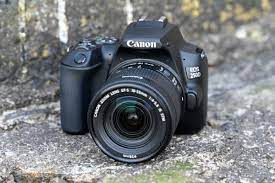
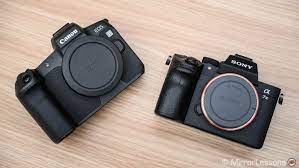
Canon EOS 250D vs Canon EOS M50
Canon EOS 250D and Canon EOS M50 are digital cameras and were announced in April 2019 and February 2018 respectively. Canon 250D is a DSLR camera, while the M50 is a mirrorless camera. Both have APS-C sensor and they both offer a resolution of 24 megapixel results..
Here is a glance comparison of both cameras.
| Canon 250D | Canon M50 | |
| Interchangeable single-lens reflex | Mirrorless camera | |
| \EF mount lenses | EF-M mount lenses | |
| 24 Mexapixel | 24 Mexapixel | |
| 4K/25p Video | 4K/24p Video | |
| ISO 100-25,600 | ISO 100-25,600 | |
| Optical viewfinder | Electronic viewfinder | |
| 5 shutter flaps/sec | 10 shutter flaps /sec | |
| 1070 shots per battery charge | 235 shots per battery charge | |
| 122 x 93 x 70 mm, 449 g | 116 x 88 x 59 mm, 390 g |
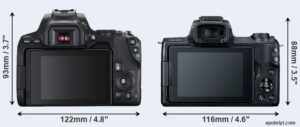
Comparison of Body
The two cameras are presented according to their sizes. Both cameras’ all height, width, and depth measures are rounded to the nearest mm.
Both canons cameras are available in black and white.
If we take the front view area of the cameras as a total measure of the size, the Canon EOS M50 is 10% smaller and 13 % lighter than the Canon 250D.
Sensor comparison
The sensor inside a digital camera is one of the key determinants of image quality and its size matters a lot. A large sensor means larger individual pixels which is eventually results in a wider dynamic range, better low-light sensitivity, and richer color-depth than smaller pixel-units in a sensor of the same technological generation. Also, it offers the photographer more control over depth-of-field. Larger sensors downside is that, that they tend to be associated with larger, and expensive camera lenses and bodies.
Canon’s cameras have a format factor of 1.6, an APS-C sensor, and a native aspect ratio of 3:2.
Canon EOS 250D has a sensitivity range from ISO 100 to ISO 25600 and can be extended to ISO 100-51200 respectively whereas, the M50 offers exactly the same ISO settings.
Feature comparison
After a comparison of body and sensor, we will check the features of the two cameras as they both differ. Like the M50 has an electronic viewfinder (2360k dots), while the 250D has an optical one.
Both have their own benefits like with the EVF it is possible to project supplementary shooting information into the framing image, and in the optical viewfinder, you cannot view and project a clear framing view.
Canon 250D and the Canon M50 both cameras have an articulated screen that can be turned to the front-facing. This is really great for photographers who are interested in taking selfies and vloggers.
Both cameras have an intervalometer built-in. This feature enables the photographer to capture time-lapse sequences, for example, a sunset, moonrise, or a flower blooming, without having an external camera trigger.
Connectivity comparison
Some applications prefer the extent to which a camera can communicate in its surroundings and it can be an important aspect in the camera decision. In particular, the interfaces the cameras provide for data transfer and accessory control.
Review summary
Question is, Is the Canon M50 better than Canon 250D or vice versa? The below points highlights the relative strengths of the two cameras.
Reasons to Choose the Canon EOS M50:
- Has an electronic viewfinder.
- Shoots at a higher frequency.
- Has been on the market for longer (launched in 2018).
Reasons to Choose the Canon EOS 250D:
- Provides higher movie frame rates.
- Offers an optical viewfinder for clear, lag-free composition.
- Can take more shots on a single battery charge.
- Lower priced segment.
- Is more recent.


 Final Words

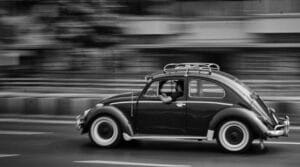 2. Panning and Motion Blur


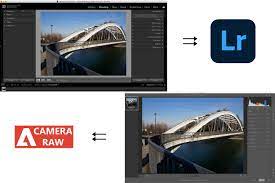
 Camera Raw
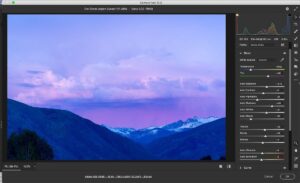
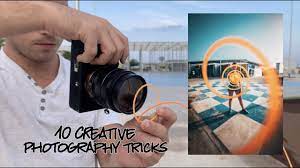
 Camera trick levitation
 Stroboscopic motion
 Part 1: Choose a photo-sharing site
 After reading above mentioned tips now you know how important it is to have correctly sized images and good quality images on your website. Questions is how do you go about making that happen?