4 Reasons To Buy MacBook in Pakistan
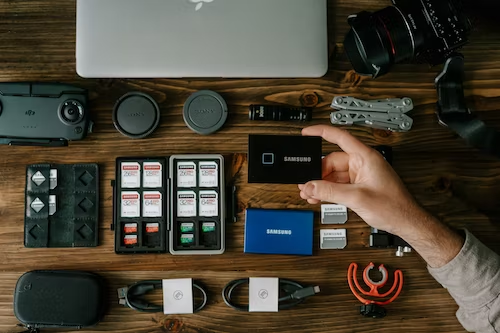
Whether updating your old PC or shifting to the Apple ecosystem, getting a new MacBook can be your best choice. These laptops are well designed, easy to use, and have great features.
Have you ever wondered why they are a famous and a better option than other laptops? It is because of the immersive experience and distinct advantages.
If you are looking to buy MacBook in Pakistan, then you can trust Golden Camera. This blog presents the four reasons why we think MacBook is worth buying.