Home > Basic Photo Restoration: How to Restore Old Photos Using Photoshop

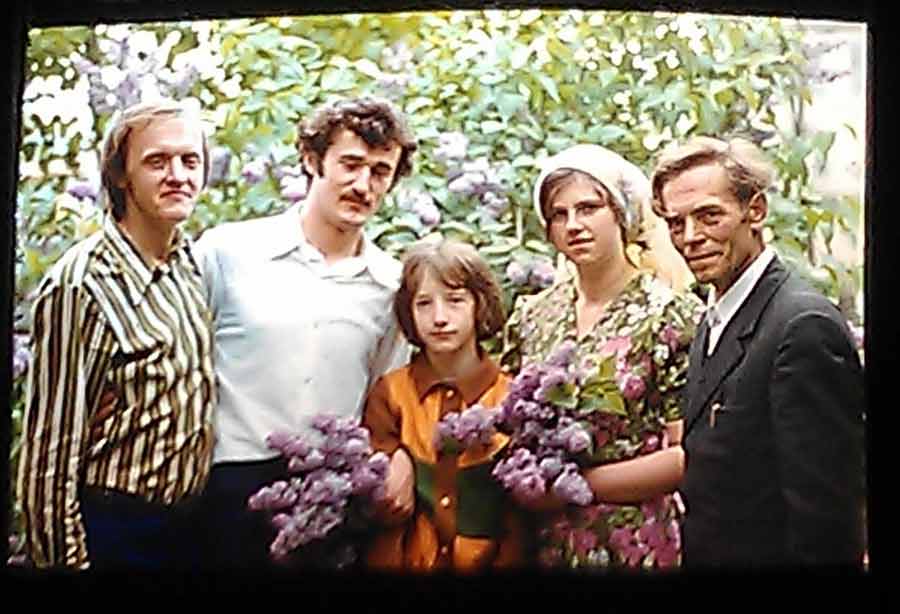
Do you know that strange red tint on all of the photos in your family albums? It has a name – it’s called a color cast. Most old pictures have one, and if you can and upload them to Photoshop, you can easily do away with it.
Essentially, though, what Matt means is that to get the best results you’ll close the gaps between the edge of the range for each of the channels: red, blue, and green. It’s a simple technique that just requires a little slide of the mouse. And even though it’s a simple action, the results are impressive
To enhance your old photos, we’ve listed down several steps you should follow. These steps apply to digital photo restoration using the latest version of Adobe Photoshop.

The first step is to scan the photo to get a digital copy. You can use a regular photo scanner, take a photo using a digital camera, or use a scanner app on your smartphone.
Whichever method you use, make sure that it will yield a large, high-quality copy of the photo to make it easier to work with.
Next, open the digital image in Photoshop. Then create a second copy of the image. You’ll want to keep an original copy for reference, so you’ll be working on altering the second copy.
Before you can begin making any adjustments, make sure that you’re working with a clean, properly oriented image.
If there’s any unwanted white space (or any kind of space that shouldn’t be there) around the edges, you can simply crop all of that out.
f the scan of your image is a bit crooked, you can straighten it out using the crop tool.
Photoshop CC lets you rotate your image through its Image Rotation setting or the Transform function in the Edit menu.
To rotate your image using the Image Rotation option:
To rotate your image using the Edit menu:
There are two ways to do this step in Photoshop: adjusting your image’s color and fixing its damaged spots.
Old photos are usually faded, but if you want to improve the tone, color, contrast, and overall vibrancy of the photo, Photoshop can do these, too.
If you select Image from the taskbar, you’ll see a drop-down menu that will pretty much give you everything you need for some basic color correction. Under Adjustments, you’ll see three options: Auto Tone, Auto Contrast, and Auto Color. Try these out first and see if these automatic corrections deliver your desired effect. If not, you can do these corrections manually.
It’s a good idea to learn how to read the histogram so that you can make highly accurate adjustments. From there, select Adjustments and use the different functions under this menu option. There are basic adjustments such as Brightness, Contrast, Exposure, and Vibrance, or the slightly more in-depth adjustment tools such as Curves and Levels.
Depending on the condition of your photo, the best thing to do is to play around with these different adjustment tools to get the right tone, color, and contrast.
If your image has a color cast, here are a few steps to follow to correct the effect:
This part is where it gets a bit tricky—you’ll definitely need an eye for detail and a whole lot of patience! If there are any scratches, stains, and other unwanted marks on your photo, you can use a few beginner-friendly spot correction Photoshop tools: the Spot Healing Brush, the Patch Tool, and the Clone Stamp.
You can’t magically get rid of the dust and scratches with just a press of a button—you’ll have to do it manually. However, you can make that job easier by using Photoshop’s Filter functions to reduce some of that unwanted noise.
Once you’re happy with the image, delete the unedited layer (the original reference layer) or right-click the edited layer and select Flatten Image (make sure that your edited layer is on top). After that, just follow the steps below to save your photo.
Monday – Saturday:
11:30 AM – 9pm
Copyright © 2025. All Rights Reserved.
Website Powered By DABBS Solutions Pvt. Ltd.
Social Chat is free, download and try it now here!