Blog
Soft Proofing: Cut Your Editing Time in Half!
Stop over-editing. Start soft proofing!
From a purely technical standpoint, soft proofing is all about color management and getting your on-screen photos to match the prints you get from your pro lab.
For photographers, however, there’s an earlier step in the soft proofing process, and it’s all about your clients.
“Soft proofing means allowing your clients to choose the images that they’d like fully edited from a gallery of proofs,” explains family photographer Stefanie Cole.
“Depending on your style of editing, the proofs can be SOOC (straight out of camera) or given a quick, preliminary edit,” Stefanie suggests. “My packages come with a set number of digitals, so soft proofing allows them to choose their purchased images while also giving them the option to buy more.”
Here’s why clients love soft proofing:
Soft proofing allows Stefanie’s clients see more of their images faster. They don’t have to wait for every image to be edited to perfect, and they’re never left wondering if a “better” photo was excluded from their gallery. “They feel more in control of the images that they receive,” says Stefanie, “and are happier as a result.”
But soft proofing isn’t only great for clients.
“I never edit a photo that I haven’t been paid for!” Stefanie shares. “It has sped up my workflow drastically, and it’s taken a lot of the difficult choices out of culling.”
Soft proofing in 5 steps
These are the steps Stefanie follows to create a streamlined, inclusive ordering process for her clients:
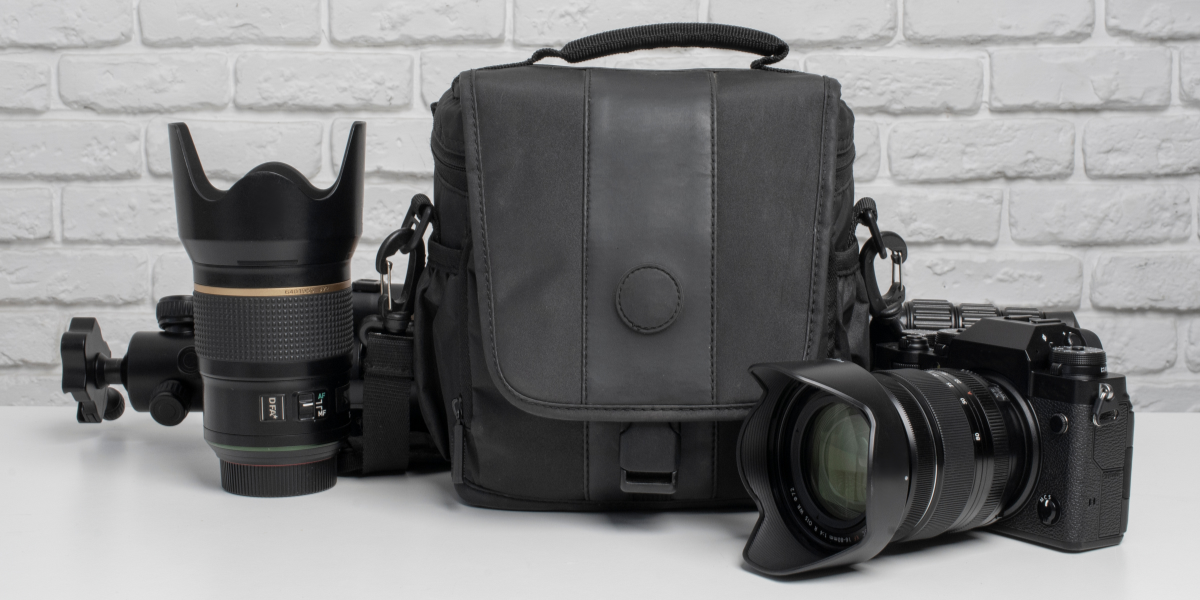
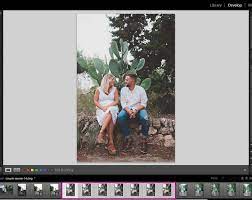
#1: Add your images to Lightroom and cull
- Add the session’s photos to a Lightroom catalog
- Tap “P” to “Pick” your keepers
- You can also tap “X” to “Reject” a photo you don’t want to show
- Or tap numbers 1-5 to give each image a star rating
Stefanie admits that culling is a bit of a balancing act. Show too few images, and your clients may wonder, “Where are the rest?” Show too many, and they may become overwhelmed, which can result in smaller purchases.
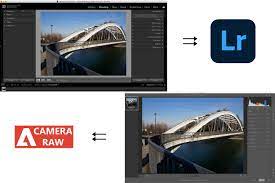
#2: Apply your preset
You may choose to soft proof with photos that are SOOC, but Stefanie finds it beneficial to perform a light edit on the photos she’ll show.
“I don’t worry about proofs being perfect,” she clarifies, “but if any are drastically off-center or need cropping, I will do that. If any head swaps are necessary, I’ll go ahead and do that, too, but that’s rare.”
#3: Edit a few favorites
- Choose 1-3 favorites from the shoot
- Give those picks your full post-production treatment
- Share these to social media (with your client’s permission, of course!)
These fully-edited favorites help Stefanie’s clients to envision what their finished products will look like.
#ShootProofPRO Tip: Final edits
The way your photographs appear to your clients is largely dependent upon their computer monitor, color profile and display options, and (if they’re trying to make their own prints) their printer profile. This is why it’s important for your final output to be created with print quality in mind.
An accurate soft proof is one that looks phenomenal when printed by your preferred professional lab. Make sure your clients know that you can only guarantee the print quality of photographs ordered directly through you.
#4: Export the soft proofs
Stefanie exports her soft proofs into a client folder on her desktop, then uploads those images into a ShootProof gallery.
“Once uploaded, be sure to turn the download feature OFF,” reminds Stefanie, “and add a nice, big watermark that is vivid enough that people won’t screenshot your work, but transparent enough that they can clearly see their faces in the images.”