Sony A6400 vs. A6700: Which Camera is Worth Buying in Pakistan?
Sony has built a fantastic reputation by introducing cameras that impact the photography and videography world. This brand is a favorite among enthusiasts globally for its commitment to excellence. Sony is admired for its mirrorless cameras, leading video cameras, cinema-quality 4K models, and reliable DSLRs. There’s a growing trend of photographers and videographers choosing mirrorless options. Sony’s A6400 and A6700 are recognized as top entry-level mirrorless cameras that many rave about!
In this blog, you’ll explore the exciting comparison of the Sony A6400 and A6700. Take a moment to discover more about these fantastic mirrorless cameras!
Sony A6400
Sony’s A6400 is a fantastic, compact 24MP mirrorless interchangeable lens camera featuring an APS-C sensor. It’s perfect for a wide range of photographers, from those capturing family moments to professional shooters searching for a lightweight second body.
The exciting news is that it comes with a new processor inspired by the technology found in Sony’s incredible sports-shooting flagship, the a9. This processor allows for ‘Real-Time Tracking’ autofocus, which is one of the most effective autofocus systems we’ve experienced. Plus, it’s designed to be user-friendly, making operating it a breeze once it is set up.
Key Specifications:
- 24MP APS-C sensor
- 425-pt phase-detection AF system with Real-Time Tracking
- Tilting screen, 180° up, 90° down
- 36 M-dot electronic viewfinder
- New Bionz X processor
- ISO range from 100-32000
- 11fps burst shooting (8fps with silent shutter)
- Interval shooting option added
- 4K/30p video capture
- Mic input, no headphone output
- 410 shots per battery charge (per CIPA)
- Wi-Fi with NFC and Bluetooth
Electronic Viewfinder With A Selfie Screen
The A6400 keeps a similar look to the A6300, as Sony hasn’t drastically changed the design of this camera style in quite some time. There have been some nice little updates from one model to another, though!
Right now, it’s available in basic black and silver, which is a bit more limited than some other editions that have come out over the years, usually launched a while after the initial announcement. It’s also relatively compact, measuring 2.8 by 4.8 by 2.0 inches (HWD) and weighing just 14.3 ounces (that’s without a lens, of course!).
24MP APS-C Size Sensor
Sony’s A6000-series cameras feature a 24-megapixel APS-C sensor and similar body shapes. Differences among models include AF performance and image processors. These best-selling cameras remain popular as older versions are sold at lower prices. Among the available models—Sony A6100, A6400, and A6600—the Alpha 6400 stands out for its features and price, making it ideal for vlogging and content creators.
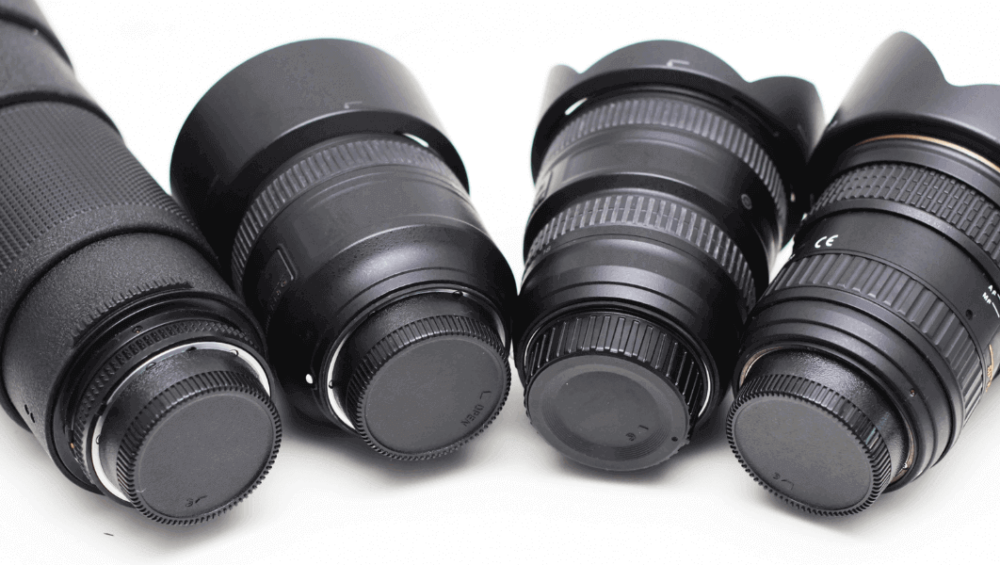
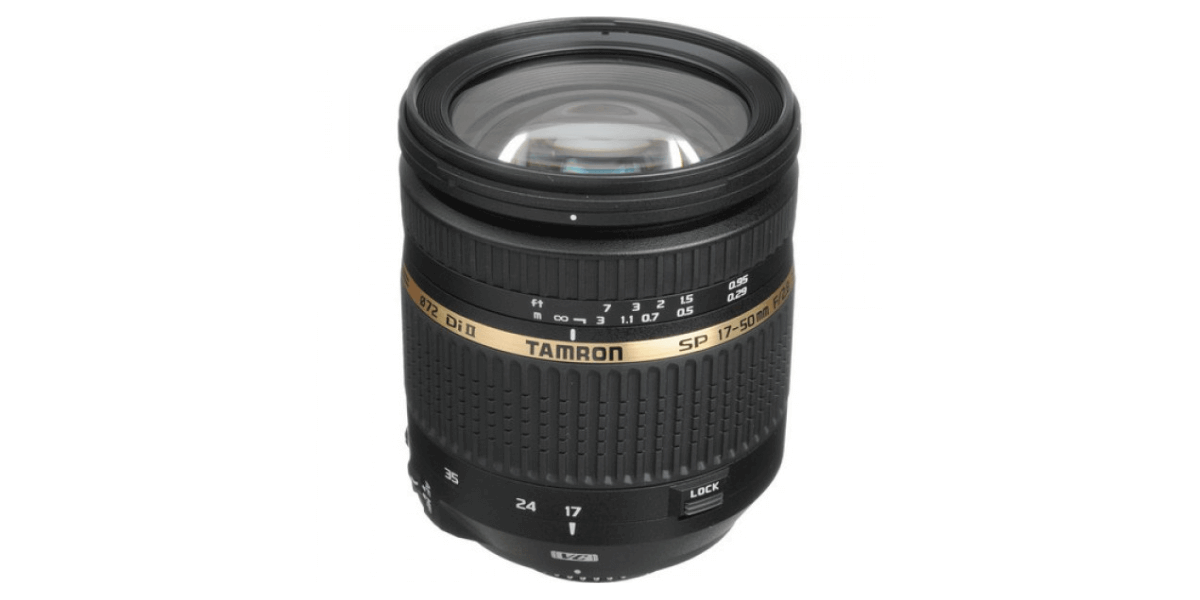
The A6400 is available for purchase with the body or kits, including 18-135mm or 16-50mm f/3.5-5.6 zoom lenses. The latter is becoming harder to find. You can still get the A6400 paired with the 16-50mm kit, which is relatively compact and a great way to start your photography journey without much extra cost.
However, it does have some optical compromises. If you can afford it, we recommend investing in a better lens. Options like the E 18-135mm f/3.5-5.6 OS, E 18-105mm F4 G OSS, or E 16-80mm F4 ZA OSS are excellent!
Video Specs
Sony includes impressive video specs. The A6400 records 4K (3840 x 2160) at 25fps with no crop. It captures Full HD (1920 x 1080) at 100fps and offers S+Q mode for slow or quick motion. Features a 3.5mm audio socket for external mics and clean HDMI output for recorders.
Advanced features include S-log gamma for color grading, zebra warnings for overexposure, and precise focus peaking that surpasses previous A6000-series cameras. Sony claims to have radically improved video AF performance.
Built-In Intervalometer
A key feature for Sony fans is the built-in intervalometer for time-lapse photography, which includes an anti-flicker option to manage brightness changes. The camera can be powered through its Micro USB port during extended shoots. However, it’s disappointing that time-lapse movies must be compiled on a computer using Sony’s free Imaging Edge software.
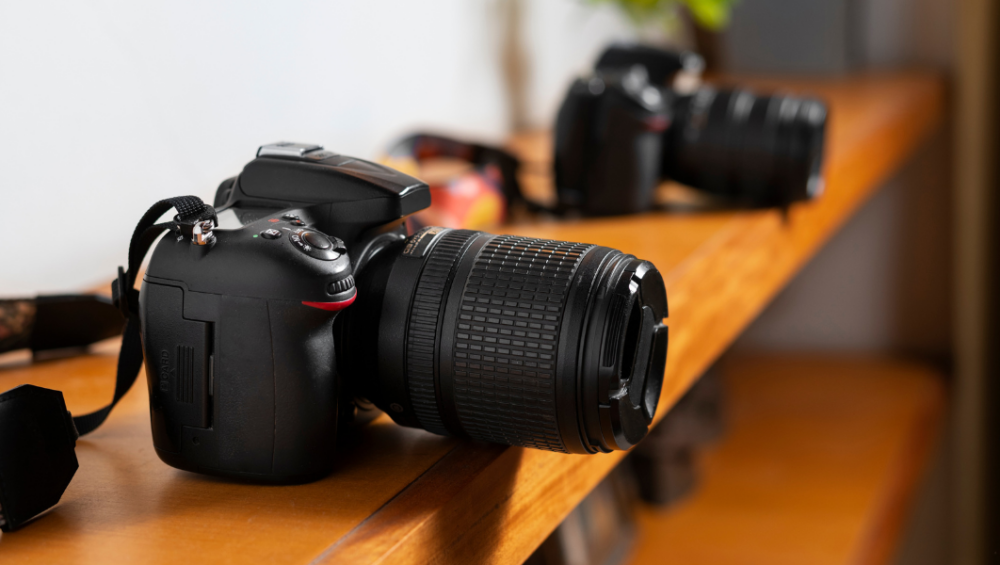
Body And Design
The A6400 boasts a sleek, boxy design with a conveniently placed corner viewfinder and a comfortable handgrip. Crafted with sturdy magnesium-alloy plates, it feels incredibly durable in your hands. Plus, Sony assures us that this camera is dust—and moisture-resistant, making it reliable in various conditions. However, it’s worth noting that while this camera is equipped with great APS-C lenses, they aren’t sealed; only the larger and more expensive full-frame lenses offer that extra protection.
Layout-wise, the A6400 closely resembles its predecessor. The main update is a screen that now faces forward, thanks to a new hinge, enabling selfies and vlogging. The overall body shape and button positioning trace back to the NEX-7 from 2011.
On-screen Interface
The NEX-7 was an advanced camera, and while its default setup was lacking, it could be improved by navigating the menus and reassigning controls. Since then, Sony has significantly changed the button configurations and redesigned the on-screen interface. Nearly 8 years later, the A6400 remains a sophisticated camera.
Sony lets users externally adjust key exposure settings, which are primarily controlled with the right thumb across various points. Adjusting these settings requires thumb movement and button presses!
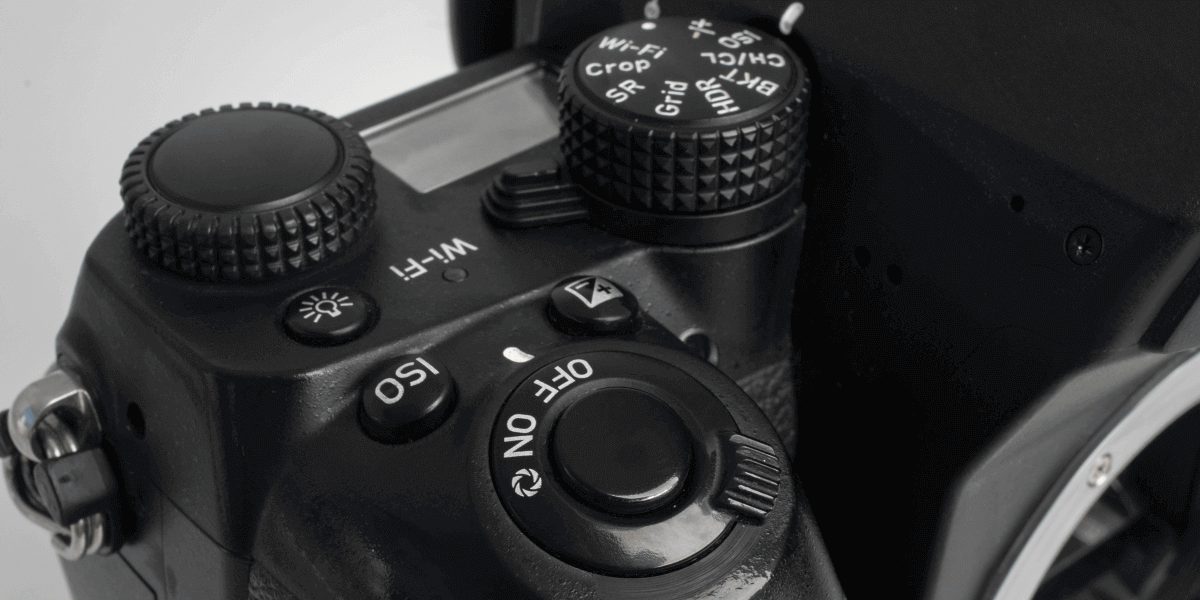
Twin Dials
The dual electronic control dials exemplify a design feature serious photographers value for quick adjustments. They allow exposure settings to be changed with one’s forefinger and thumb. However, Sony positions both dials for thumb operation, one on the top plate and one on the back, undermining their intended use. Default settings link both dials to the same adjustment in most modes, except manual, which is inefficient. Fortunately, users can reassign one dial for exposure compensation in other modes, enhancing functionality.
Best With Lightweight Lenses
The chunky handgrip is the best on any small mirrorless body, especially with lightweight lenses. However, the camera’s low profile is shallow, allowing only the second and third fingers to wrap around. As a result, it doesn’t comfortably handle larger lenses, which is a pity considering the camera’s autofocus capabilities, which would also be ideal for fast primes and telephotos.
If you’re thinking about buying this camera and looking for the best Sony A6400 price in Pakistan, don’t worry; We got you covered. Visit our site and order yours today!
Sony A6700
Sony releases a few new full-frame cameras yearly, but its APS-C lineup gets less attention. The Sony Alpha A6700 is packed with incredible features and specs. It is the first new A6000-series model since 2019, replacing the top APS-C model, the Alpha A6600. The E 18-135mm F3.5- 5.6 OSS lens targets enthusiast photographers and video shooters seeking a portable, affordable option. With the latest tech, it promises to be one of the best Sony cameras.
Key Specifications
- 26MP BSI CMOS APS-C sensor
- Bionz XR processor with dedicated ‘AI Processing Engine’
- AF tracking featuring subject recognition, 759 AF points with 93% coverage
- 11 fps shooting using mechanical or electronic shutter
- Lossless Raw compression option available
- HEIF and HLG Still Image modes included
- 4K recording up to 60p from 6K capture
- 4K/120 from 1.58x crop
- 10-bit video with 4:2:2 or 4:2:0 color
- S-Cinetone, S-Log3, and HLG profiles present
- Uploadable LUTs supported
- USB 3.2 Gen 2 (10 Gbps) output available
- 2×2 MIMO Wi-Fi capability
- UVC/UAC streaming up to 4K/30
Front Dial
For all the technological updates in the camera, the most significant change in the A6700 is the adoption of a second command dial on the front of the camera. This is exciting news, as it marks Sony’s first A6x00 series camera that allows you to use both your forefinger and thumb for control, instead of just relying on your thumb dials.
26MP BSI CMOS Sensor
The A6700 features a BSI CMOS APS-C sensor, which we can confidently say is the same as that in Sony’s impressive FX30 cinema camera. It will be so cool to see how this chip performs. One exciting aspect of this sensor is its autofocus points spread throughout most of its area, resulting in an AF system that now covers 93% of the image area, an improvement from 84% in the previous generation of Sony APS-C cameras.
The new sensor shoots at the same 11fps as the previous generation of cameras, but it can now shoot at 11fps with an electronic shutter, for instance, if you want 1/8000 sec shutter speeds. The rolling shutter is significant in Raw (64ms / 1/16 sec) but faster in JPEG mode at 25ms (1/40 sec), indicating a 12-bit readout.
Updated Processor
The key hardware upgrade is the latest ‘Bionz XR’ processor and a dedicated chip for complex AI algorithms. This combination, seen in the ZV-E1 full-frame vlogging camera, advances the APS-C series. It enhances subject recognition AF modes and enables the A6700 to utilize the ZV-E1’s vlogging features, which recognize subjects, crop in, and upscale video to the desired resolution in real-time.
Upgrading to a newer processor enhances performance and introduces new features, including a revamped menu system, losslessly compressed Raw recording, and 10-bit video for improved Log footage and full HLG HDR video.
The A6700 captures 10-bit HLG stills in HEIF format and HLG HDR video. It also shoots non-HDR HEIFs in various profiles, including HLG. However, for HDR recognition, shoot HEIF (no Raw) and select the HLG Still option.
Video
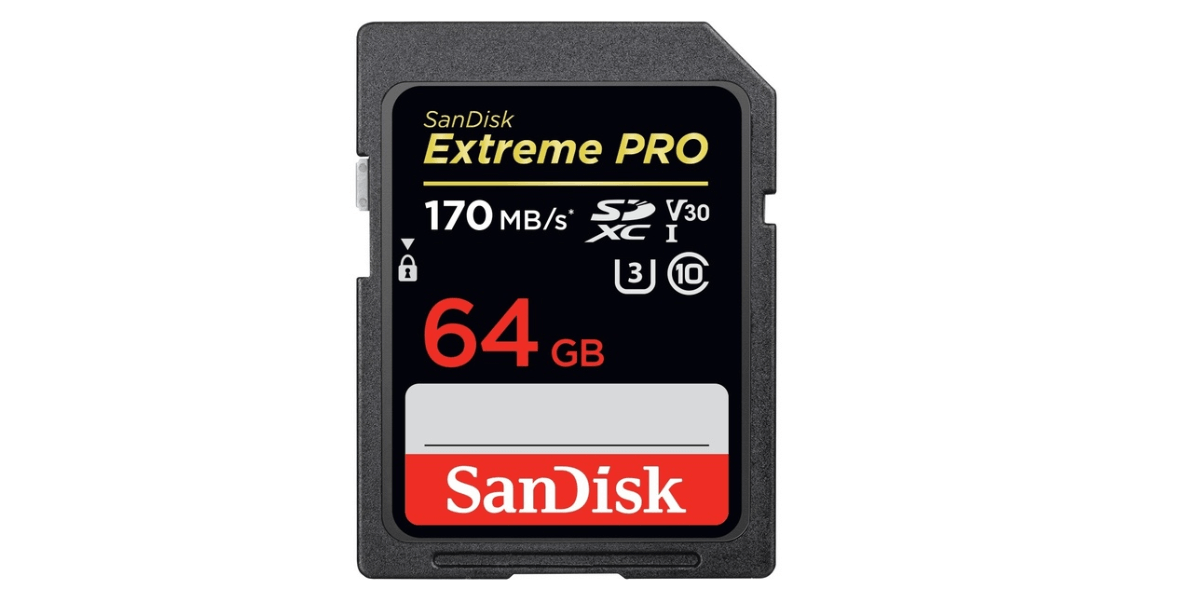
The A6700 features the same 26MP BSI CMOS sensor as the FX30, offering impressive video capabilities. It shoots up to 4K/60p at full width or 120p from a 1.58x crop, capturing 10-bit precision and 4:2:2 color. Depending on needs, users can choose from XAVC HS (H.265), XAVC-I (All-I H.264), or XAVC-S (Long GOP H.264). The All-I options reach 600Mbps (75MB/s), requiring a fast V90 SD card, but most modes work with slower cards.
From the recent ZV-E1, the A6700 gets the vlog-friendly modes, with a series of large on-screen buttons, and the ‘Auto Framing’ modes that punch in on recognized subject types and follow them around. This is designed with a wide-angle composition, and the camera is mounted on a tripod. The A6700 doesn’t have the ‘Dynamic Active Steady Shot’ mode, which can keep you framed in the same composition using cropped-in image stabilization.
Body And Controls
The A6700 resembles earlier A6x00 series cameras, but is more extensive. Notable updates include a front command dial and a dedicated dial for Stills, Video, and Slow & Quick modes beneath the exposure mode dial.
The redesign eliminates the previous back-plate button switch and labels the button AF-On. The C3 button is removed, resulting in one fewer button and switch than the A6600. The [Rec] and C1 buttons are swapped, making it easier to activate video recording, though accidental activation is now possible.
It is constructed from magnesium alloy, the body features environmental sealing at joints, mic and headphone ports, a micro HDMI socket, and a USB Type C port compatible with USB power delivery and USB 3.2 Gen 2 (10Gbps).
The USB-C port means the A6700 doesn’t support remote controls from older Sony models using USB Micro-B/Multi ports, and lacks an IR receiver on the grip. Instead, Sony’s Imaging Edge app can be used as a remote. The camera has a UHS-II SD card slot without a CFexpress Type A socket. However, the fastest V90 UHS-II SD cards manage the 600 Mbps data rate of the highest video setting.
If you’re looking for the most affordable Sony A6700 price in Pakistan, Golden Camera offers the best cameras that fit your budget!
Sony A6400 vs A6700: Which is the Best Mirrorless Camera in Pakistan
Read this comparison of Sony A6400 vs A6700:
| Feature | Sony A6400 | Sony A6700 |
| Sensor | 24MP APS-C | 26MP BSI CMOS APS-C |
| Processor | Bionz X | Bionz XR with AI Processing Engine |
| Autofocus | 425-pt phase detection, Real-Time Tracking | 759 AF points, 93% coverage, AI-enhanced tracking |
| Burst Shooting | 11fps (8fps silent) | 11fps (mechanical & electronic) |
| ISO Range | 100-32000 | Not specified |
| Viewfinder | 2.36M-dot EVF | Not specified |
| Screen | Tilting, 180° up, 90° down | Fully articulating touchscreen |
| Video | 4K/30p, Full HD 100fps | 4K/60p full width, 4K/120p (1.58x crop), 10-bit 4:2:2 |
| Log Profiles | S-Log, HLG | S-Log3, S-Cinetone, HLG |
| Stabilization | No IBIS | 5-axis IBIS |
| Battery Life | 410 shots (CIPA) | Not specified |
| Connectivity | Wi-Fi, NFC, Bluetooth | USB 3.2 Gen 2, Wi-Fi (2×2 MIMO), UVC/UAC streaming |
| Lens Options | 18-135mm or 16-50mm kits | 18-135mm OSS kit |
| Body Material | Magnesium-alloy, dust & moisture-resistant | Magnesium-alloy, environmental sealing |
| Additional Features | Built-in intervalometer, clean HDMI, external mic input | Front dial, lossless RAW, USB power delivery, auto-framing for vlogs |
Looking at this comparison table, you can easily decide which Sony camera is best for photography. However, go for the one that fulfills your needs and ticks all the boxes.
Final Thoughts
It’s an exciting match-up between Sony’s A6400 and A6700! The choice is all yours, so you can select the one that fits your needs and budget perfectly. Both cameras are fantastic and packed with impressive features to enhance your photography experience. Plus, you can pair them with amazing lenses for breathtaking results. So, take your time deciding which one feels right for you!