Trend awareness helps photographers understand their customers better, and helps advertisers find valuable items in stock that will help them stand out among competitors. It also allows them to discover a common language with their audience.
Photography (and other aspects of our lives) has undergone many changes this year. For example, a new spin on your photos, drone photography, and still life. However, there is a difference. Therefore, we have images and powerful AI programming as a trend from technological evolution.
In this article, we have summarized key trends in 2022 photography. Use it as a guide to develop new ideas, wow your customers, and improve visual communication.
Photo Art Trends to Follow in 2022
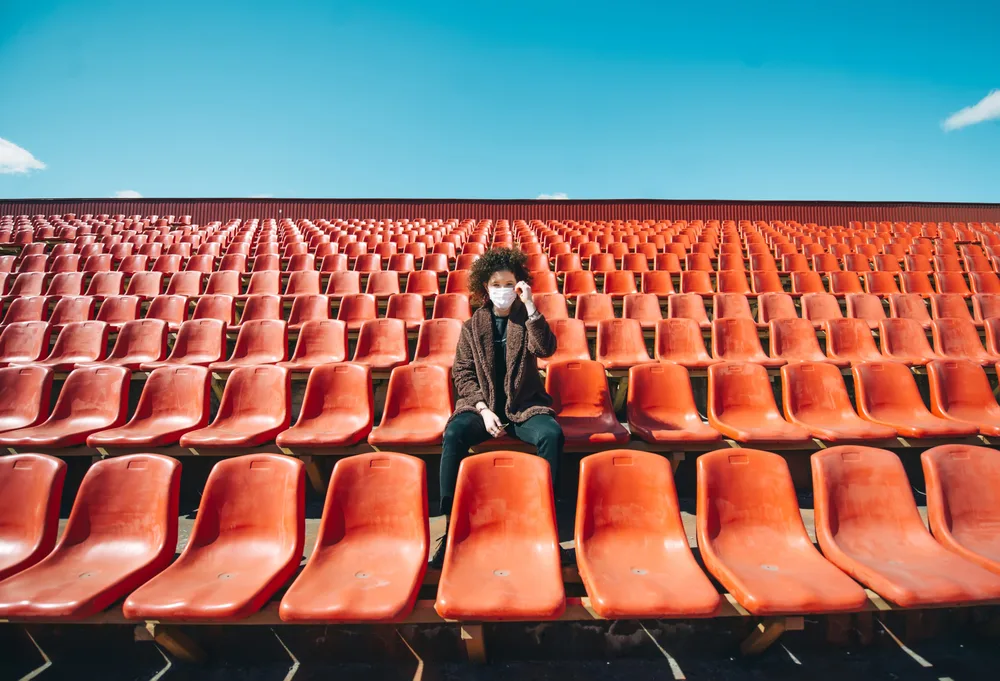
# 1 Masks are everywhere
From the beginning of last year, accessories such as medical masks and respirators were introduced into our cabinets. When we go to the supermarket or down the street, we may encounter a variety of designs for these items. In a sense, it has become an additional source of information about the wearer, as well as a time symbol. As a result, photographers began to use the mask on their models as a creative tool.
# 2 Switch to straight images
The epidemic has accelerated some marketing and technology processes. For example, the dominance of mobile devices over the desktop when it comes to using the Internet. By 2021, it is even more important for the eCommerce type to have a mobile app and website focused, rather than a desktop-focused web platform. In addition, important social media platforms including TikTok, Instagram, WhatsApp, etc. are mobile first. This created the need to take specific photos.
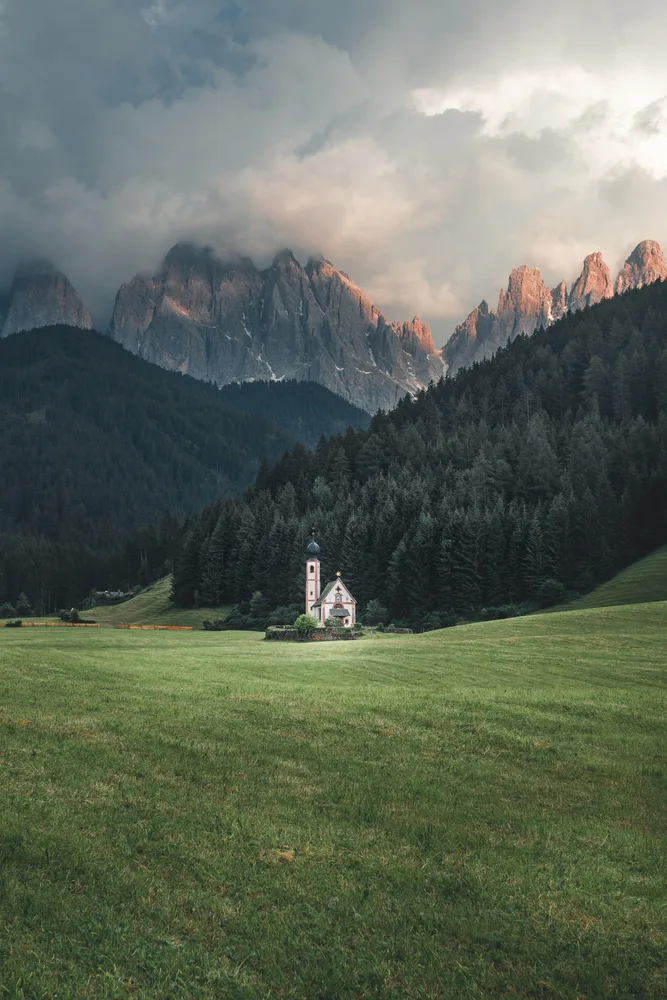
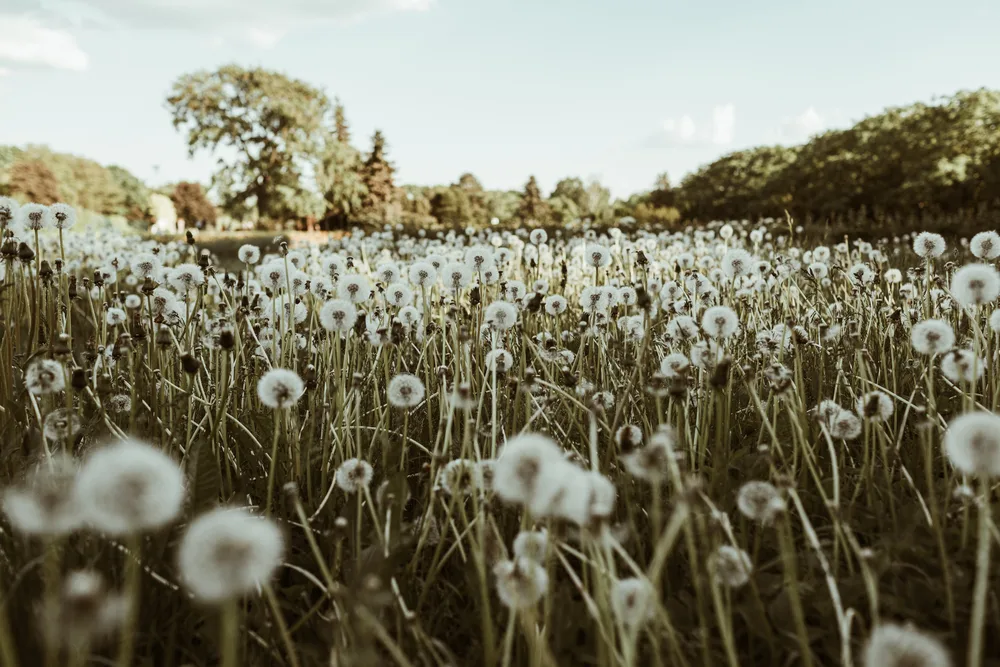
# 3 Increasing interest in the environment
Our hypothesis has recently been verified statistically. In recent months, Golden camera customers have begun purchasing nature photos.
This means that there is a lot of energy in the natural category of photographers. Taking pictures at length may not be an option in many countries due to confinement restrictions, but nature is always close to artists.
# 4 Your photos, family photos, and a few social photos
In these months, photographers have a hard time finding lessons for their artistic endeavors. To set up a secure outdoor or studio photo, you need to take a number of safety measures, which can be time consuming and not always easy. At the same time, if you want to produce regular visual content, you can use roommates, family members, pets, neighbors, and yourself as role models.
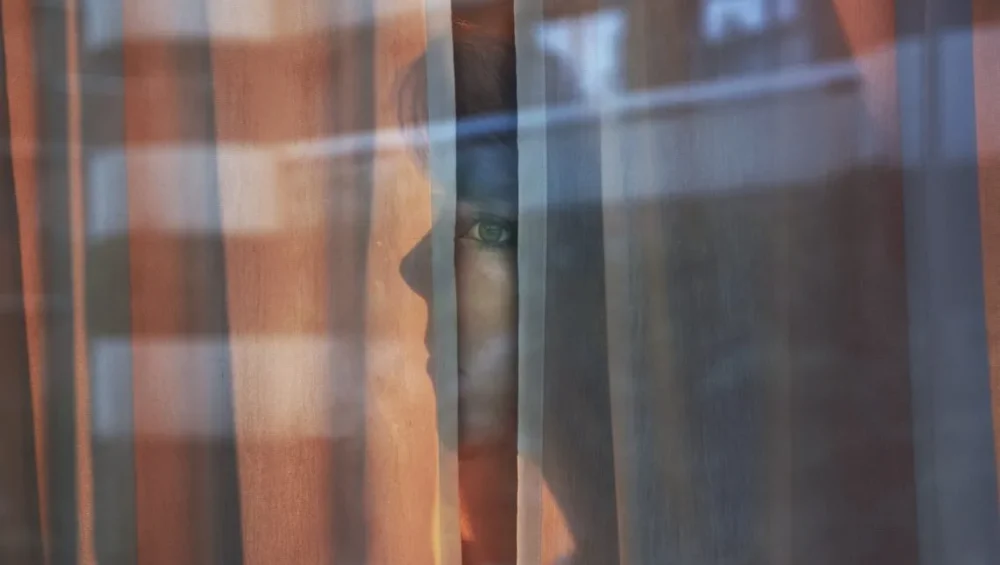
# 5 Nostalgic Vision
People love to take time with pictures. The generations of Y and Z, too, were known for their curiosity and love for decades (especially, the 60s and 80s). This is already evident in modern advertising, cinema, and fashion. Pictures of the beauty of the past are at the highest level of their popularity today.
And another tip – take the Cinematic Aesthetics course if you do not know where to start.
# 6 Powerful AI capture and editing
In many cases, clients in stock photography, or those who work directly with the photographer, are unable to distinguish a photograph taken using a reading machine, from that processed using a neural network. And that is why AI is so important to us: technology helps artists save time and effort on common tasks that do not require art.
# 7 Changing angles with drones
Capturing aerial photography remains a trend and a growing trend. It has recently become a photographer’s solution to social isolation law. What makes it even better is that the technology is cheaper over time, so modern professional photography drones are more affordable. As a result, aerial photographs are rapidly evolving. The list of ‘drone’ styles is expanded to include aerial fashion, sports, and wedding photography.
Wrapping Up
Photo trends give a glimpse of what is really important to the brands and its audience today. And they are a great start to developing visual ideas and strengthening your portfolio.
Based on the photo trends described above, we can conclude that 2022 is a good year for those who already have experience in natural photography, real life, and online photography.
The good news for everyone is that technology continues to evolve, and common tasks are less time consuming for photographers, thanks to powerful modern AI tools. And these are just a few things to take!
However, as you learn the trends, do not forget that creative images are not only marketable, but also your unique artistic perspective.