How Much Is The Equipment To Start A Podcast?
Launching a podcast is an exciting venture that opens the door to boundless creativity and self-expression. However, one common question for aspiring podcasters is, “What does it cost to bring a show to life?” The answer isn’t one-size-fits-all; it hinges on key factors such as your choice of equipment, editing software, and the strategies you employ to engage your audience.
In this blog, you will get to know about the essential podcasting equipment. Let’s get started!
Starting A Podcast
If you’re asking yourself, ‘Is it possible to start a podcast for free?’ The answer is a resounding yes. Podcasting can be done at no cost, and you just need some basic tools like a computer, a free hosting platform, and a quiet spot. That said, it’s important to know that free options do have their limitations. To create a high-quality podcast that attracts a dedicated audience and helps you grow, consider investing in the right equipment and marketing tools early on.
What You Need For The Podcast
Whenever you’re ready to dive into your podcasting journey, there are a few essential items and pieces of equipment you’ll want to have on hand to bring your vision to life. Check this list of things that you’ll need:
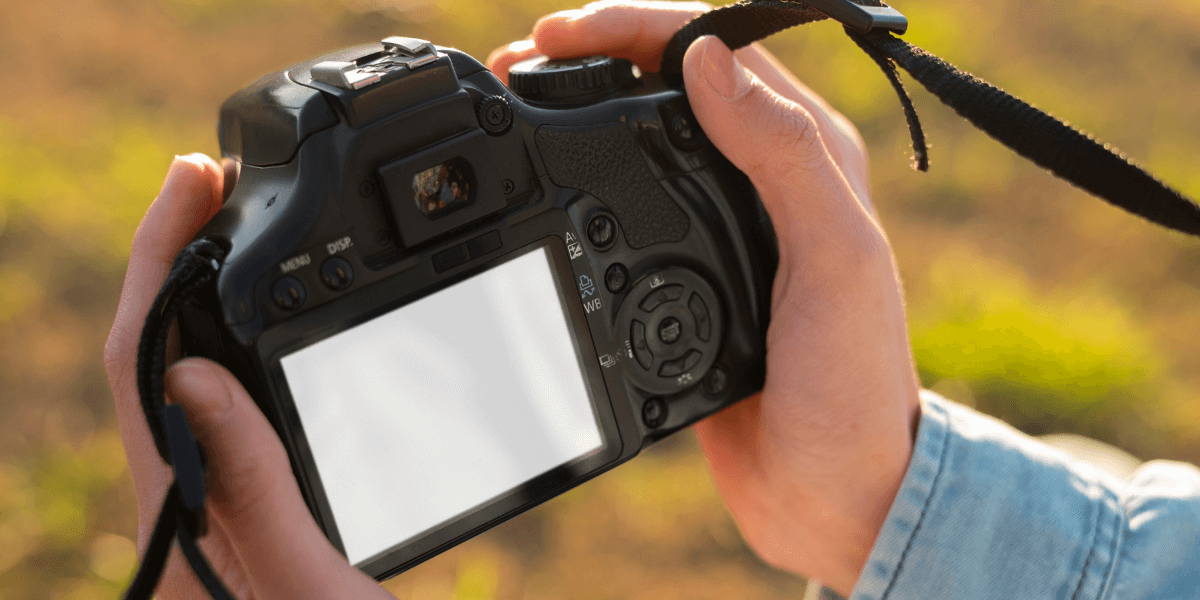
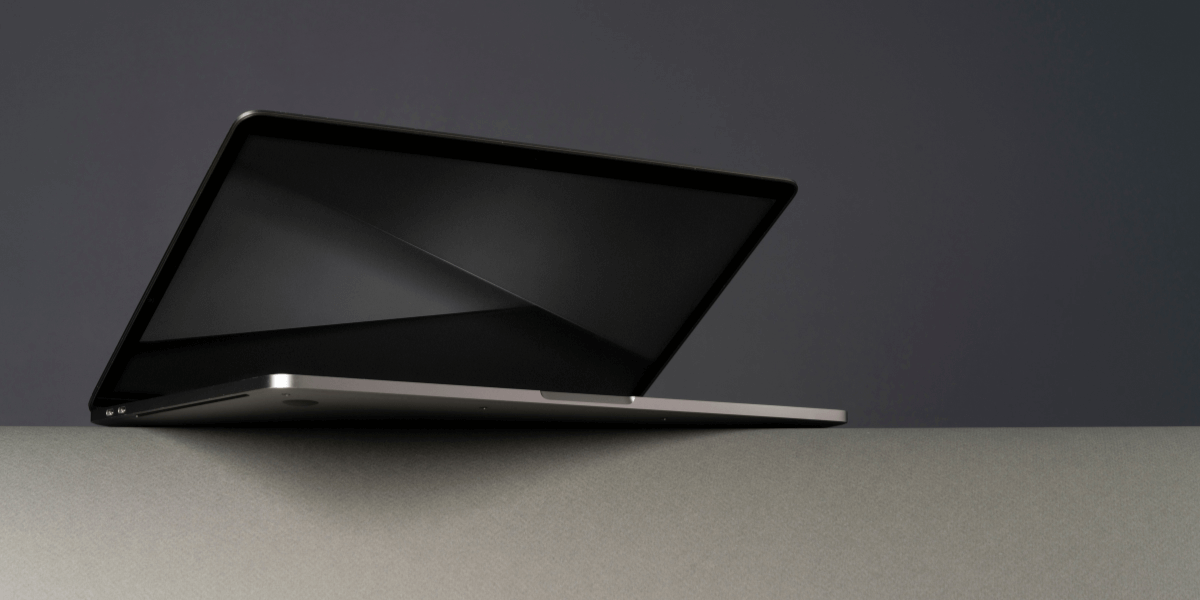
Computer
In today’s digital age, any modern computer, whether it be a desktop or a laptop, is capable of handling a variety of tasks. However, if you have plans to engage in video podcasting or require advanced video editing capabilities, it becomes essential to invest in a more powerful computer.
This type of machine should possess higher processing power and is generally priced between 225K PKR to 420K PKR, ensuring you have the necessary resources for smooth performance and efficiency.
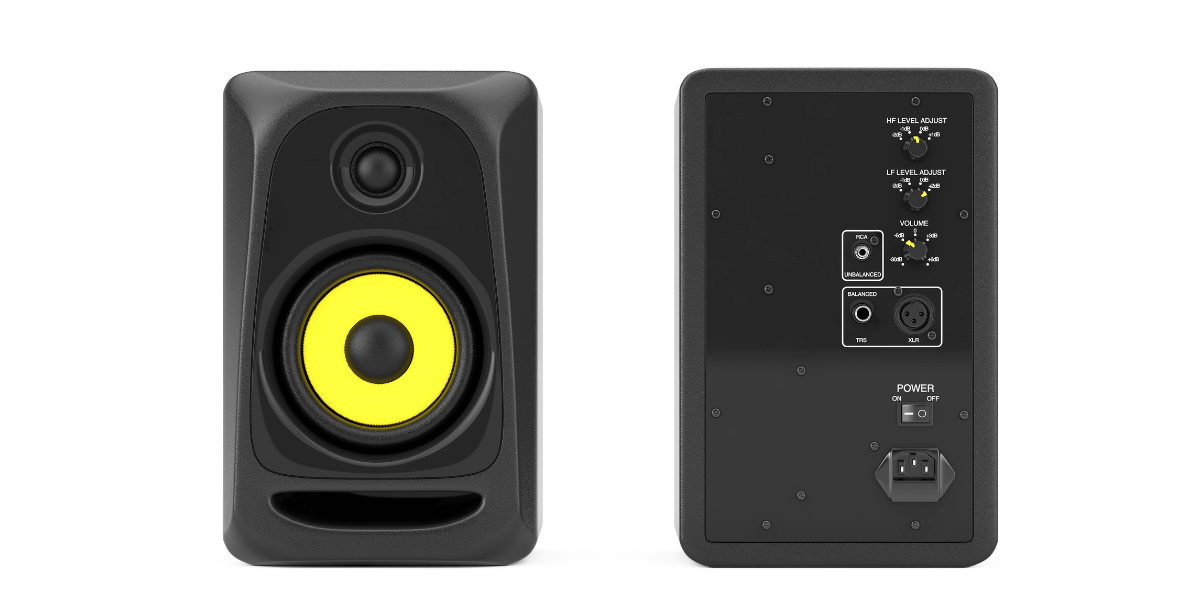
Mixer
A mixer is an essential tool for balancing audio levels and enhancing sound quality, particularly in podcasts that feature multiple hosts or guests. It allows for greater control over individual audio tracks, enabling creators to ensure that all voices are heard clearly and at consistent levels.
For beginners getting on their podcasting journey, sound mixers aren’t essential right away. Initially, a simple audio recording setup will do just fine before you decide to invest in more advanced gear. However, if you do plan to get a sound mixer in Pakistan, feel free to explore Golden Camera’s website for some great options.
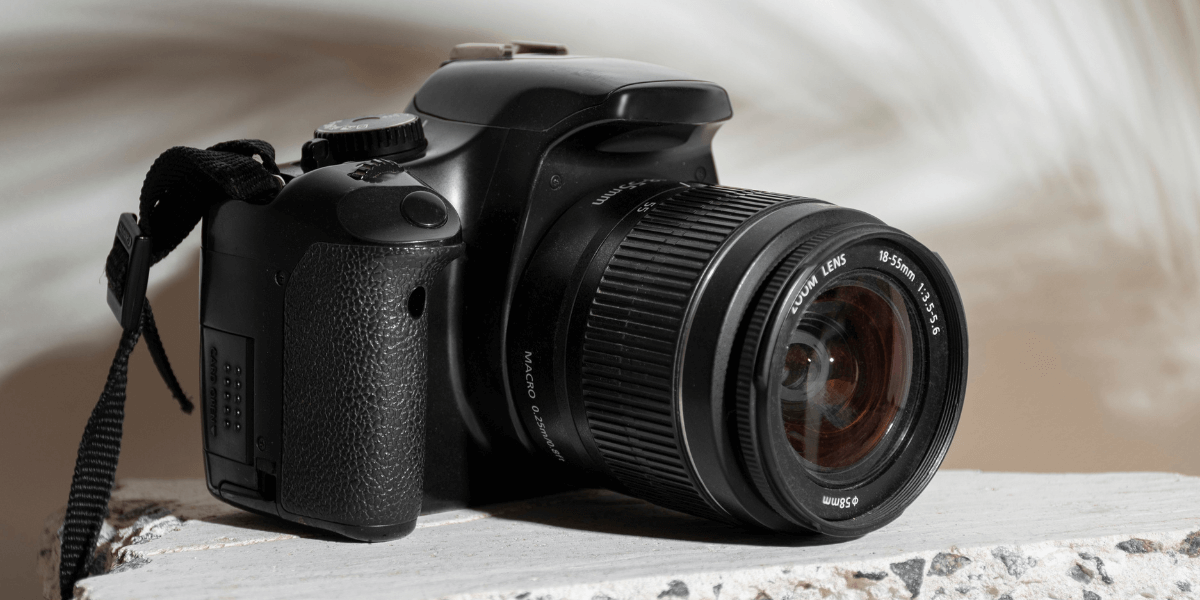
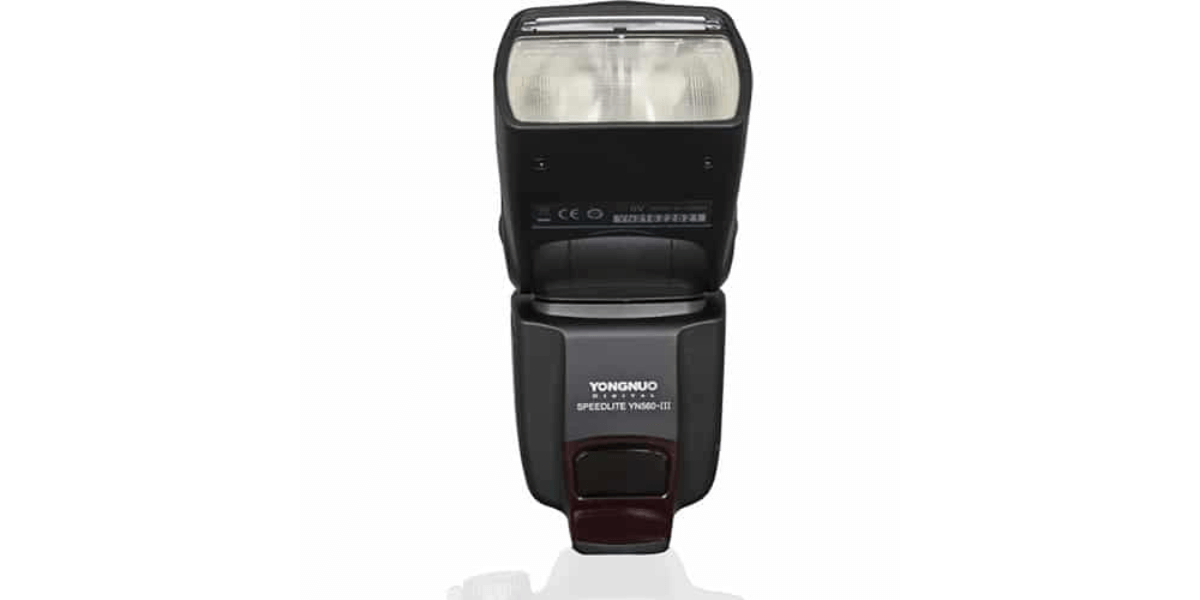
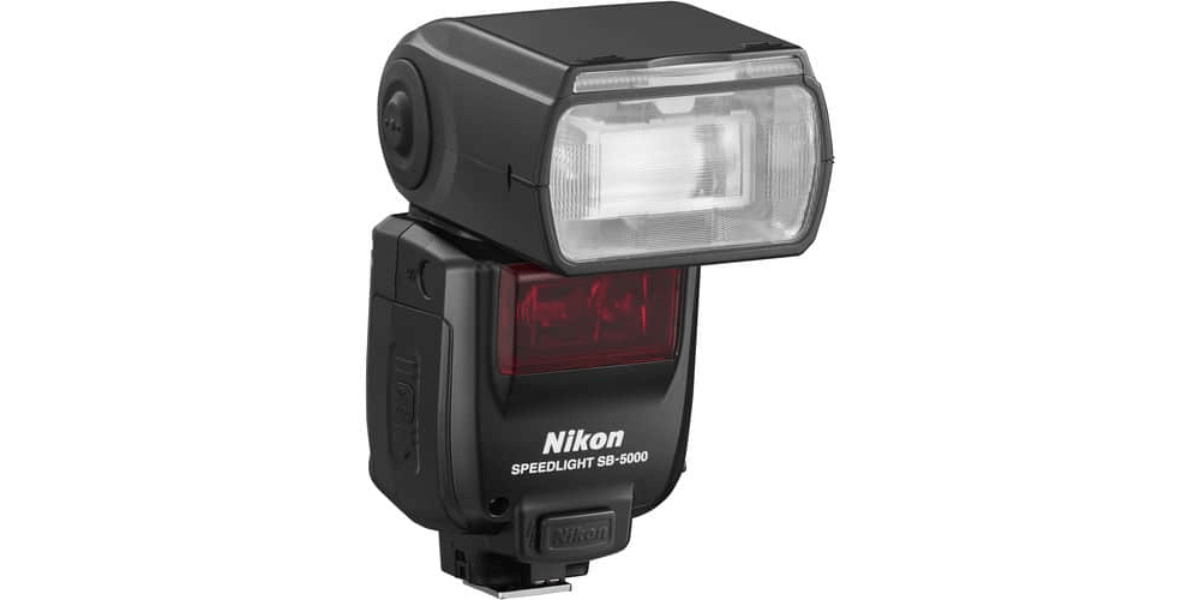
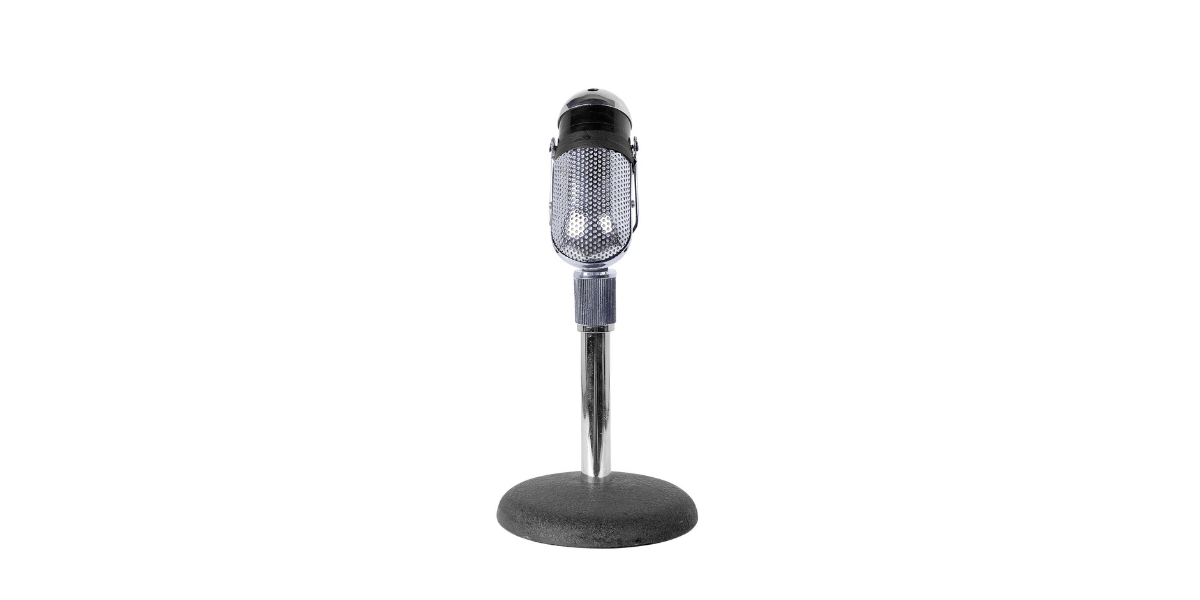
Podcasting Microphone
Going into the exciting world of podcasting by starting with the essential equipment costs. Assuming you already have a computer, whether it’s a PC, a laptop, or even a Mac, this journey will be so much fun. If this topic piques your interest, we’ve got a fantastic blog article just waiting for you on podcast microphones.
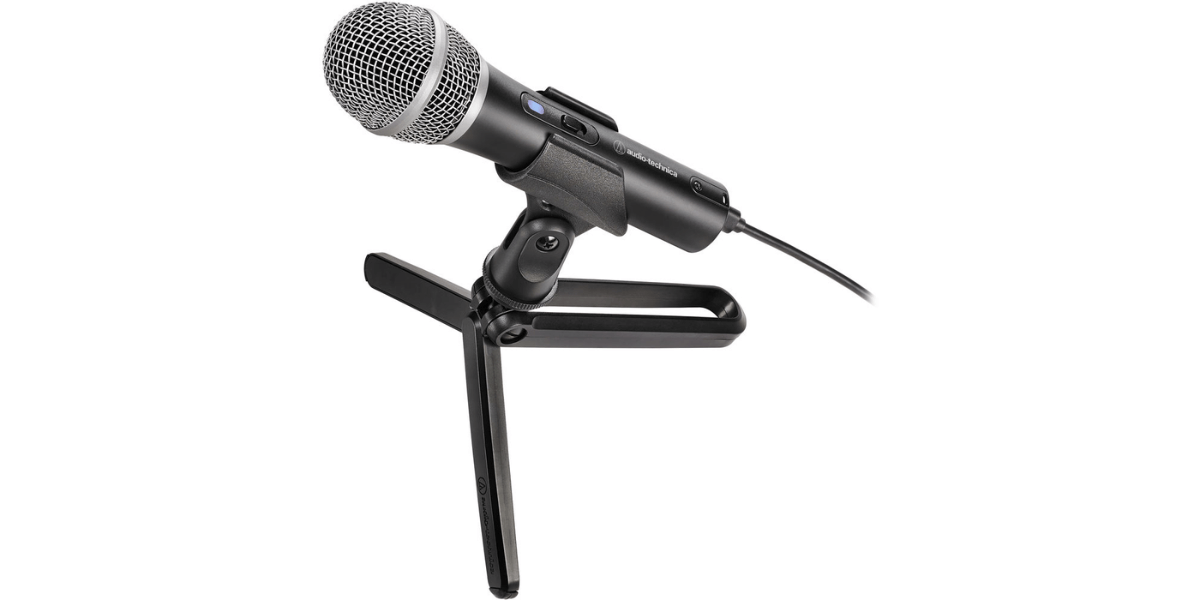
Now, let’s talk about the star of the show: the microphone. It’s truly the heart of your podcast, shaping not only how professional you sound, but also how long your audience enjoys tuning in. While a gaming headset might come with a microphone, it’s often not the best choice for podcasting because listeners usually prefer a clearer sound.
For those on a budget, don’t worry. Some great USB microphones start at around 20-25K PKR that can deliver a nice quality. You might come across cheaper options, but they often don’t meet expectations. An entry-level microphone that won’t break the bank will be ideal for you.
You can check out the best microphones in Pakistan at our website. Go through the whole page and grab the one that suits your preferences and budget.
Mic Accessories
Podcast microphone accessories such as cables and tripods are what you need in your essential podcast equipment. Usable tripods start at an affordable price. We’ll recommend getting a so-called spider or shock mount and a pop shield.
You only need an XLR cable if you are opting for a real microphone. You won’t need to worry about this with a USB mic. Otherwise, we recommend high-quality XLR cables. This means you should have an extra budget for accessories.
Audio Interface
Connecting an XLR cable to your computer isn’t quite as straightforward as it seems. First, you’ll need to plug the cable into an external sound card, which then connects to your computer via USB. This sound card is also known as an audio interface.
For those just starting, you can find great options like the Focusrite Scarlett Solo. One of the wonderful benefits of using an audio interface is that it enhances the sound quality that comes through your headphones or speakers. Many laptops or PCs come with built-in sound cards that can produce noise or other interruptions in the signal, so this upgrade really makes a difference.
As a beginner, there’s no need to stress about these technical details or to overspend on your podcast setup. Instead of investing in the XLR microphone Shure SM7B, you might find the USB option, like the Behringer C-1U USB Studio Condenser Microphone.
Podcast Headphones
For the best experience, choose headphones that you find most comfortable and can be worn for extended periods. We recommend opting for headphones that fully cover your ears without putting too much pressure on them, allowing for a more natural recording experience without any long-term discomfort.
It’s also a good idea to use wired headphones because wireless options can introduce a slight delay in the sound signal. If you want to dive deeper, consider this: in recording scenarios, closed headphones are ideal since they help prevent the microphone from picking up sound from the headphones themselves.
Additionally, it’s wise to pay attention to the frequency range in higher-priced headphones; a flatter curve typically offers a more neutral sound. While many headphones are quite popular in the market, they often emphasize bass, which may not be the best choice for all recording situations.
If you’re unsure what headphones to choose or if you need a microphone stand, there’s no need to worry. You can find the best headphones that are highly compatible with a Samson Desktop Microphone Stand MD5 from Golden Camera.
VFX and SFX
If you haven’t explored sound editing yet, now is a great time to jump in; there’s so much quality potential waiting for you. Plus, if you take the DIY route, you can save on your podcast costs, too.
Creating jingles and crafting intros and outros can be done even with minimal experience, so don’t worry. There are plenty of budget-friendly options out there, like Fiverr or Upwork, alongside professional studios and sound designers who can help bring your vision to life. You’ll find different prices, so you have options that fit your budget. However, keep in mind that investing in a high-quality intro and jingle is important, as these will feature in every episode.
Of course, if you prefer, you can hire an external technician for your post-production editing. Just be aware that hourly rates and additional podcast expenses could add up to a three-digit sum each month.
Recording (For Remote Podcasts)
Recording your podcast now doesn’t cost you anything if you’re going solo; just jump right into your editing software.
If you have podcast partners who aren’t recording with you, it’s important to ensure a great recording environment. For your partner using macOS, there’s a super simple and free solution: just open QuickTime Player, click on “File,” and select “New Audio Recording.” Then, choose your desired microphone and hit “Record.” This way, you can keep your podcast expenses down while still ensuring top-notch quality.
If you often make remote recordings, you can definitely record up to 40 minutes on Zoom for free. However, we recommend exploring better options for your recordings.
For regular remote podcast sessions, it’s definitely worth considering a subscription to SquadCast or Riverside. These platforms allow you to record audio tracks as an admin effortlessly, and your recordings are transferred without loss, eliminating that typical Zoom sound. And don’t forget to do a quick test recording beforehand to make sure everything’s working perfectly.
Podcast Hosting
To share all your podcast episodes on popular platforms like Apple Podcasts, Spotify, and Deezer, you’ll need a reliable hosting service. We love recommending Spotify for Podcasters or Podigee.
While it’s tempting to cut costs with hosting platforms, remember that this choice is crucial. The right service will influence how and where your podcast gets discovered in the years to come.
Visuals (Podcast Cover)
Your podcast is not just a project; it’s an excellent opportunity to connect intimately with your audience. What does your podcast represent, and what sets it apart from the rest?
We know that first impressions are often visual, so it’s essential to have a high-quality cover image that reflects the essence of your show.
Make sure to share your message with the world while staying true to who you are. If your visuals don’t resonate or align with your brand, you might miss out on keeping those curious listeners engaged. That’s why taking some time (and maybe investing a bit of money) into this aspect can really make a difference here.
Marketing
If you’re already a well-known content creator or influencer, that’s fantastic. You likely have a great reputation that can help you achieve wonderful things with your reach. However, it’s still a good idea to turn the advertising crank a bit in this scenario as well.
You often have valuable contacts that can help make sure your podcast is shared and reaches a broader audience. On the other hand, if your podcast is a new format, your first piece of content, or covering an entirely new topic, it’s important to think about marketing, too. After all, listeners don’t just appear on their own.
There are plenty of podcasts out there eager to be heard, so make sure to draw attention to yours. This can be managed within various budget levels, and with some thoughtful social media marketing, you can get the visibility your podcast deserves in time.
Studio Space vs. Home Studio
Read about the difference between studio space vs. home studio and what’s right for you. Check it below:
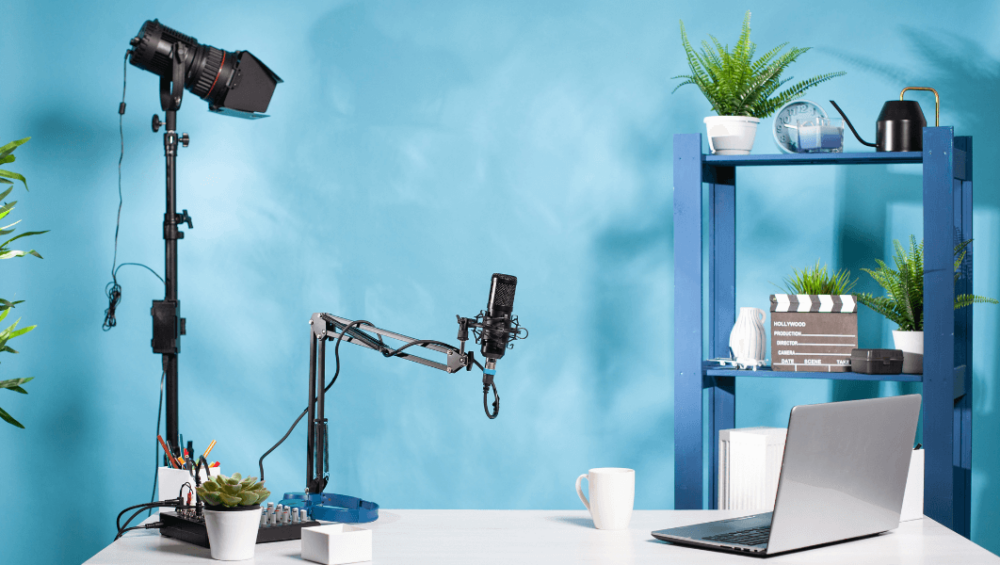
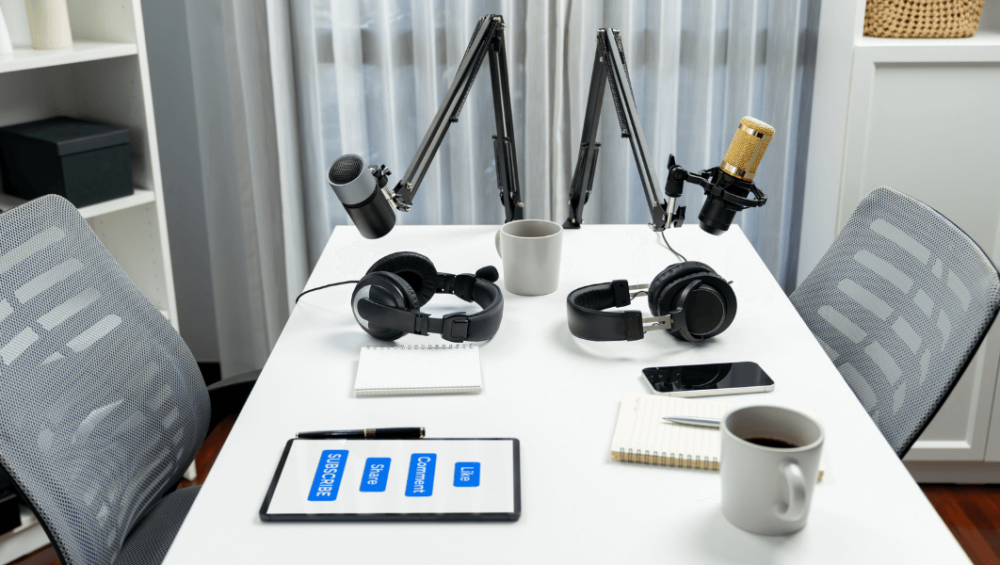
Recording At Home
Setting up a home studio can be a highly cost-effective solution for those looking to create high-quality recordings without the expense of professional studio time. To achieve the best sound quality, it is important to acoustically treat your space, which helps to minimize unwanted noise and echo that can negatively impact recordings.
One excellent option for sound treatment is acoustic foam panels. They typically are affordable for each one-foot square panel. Additionally, investing in a sturdy desk and comfortable, noise-free furniture will significantly enhance the overall recording experience, making it both enjoyable and efficient.
Renting A Studio
Renting a studio can be an excellent option for aspiring podcasters who prefer a professional setup without the hassle of purchasing and configuring their podcast equipment. Many studios provide access to top-notch microphones, mixers, and soundproof environments, which eliminates the need for significant upfront investments in gear.
Additionally, studio rental costs can vary widely based on location and included features, but it’s a worthwhile option to consider. This is particularly true if your primary focus is on delivering high production value and engaging content that attracts a dedicated audience.
Final Thoughts
If you’re ready to begin your podcast journey and wondering what steps to take next, it’s a great idea to do some research on your own. Podcasting is a fantastic opportunity, and you can truly shine in this space.
Before diving in, consider transforming your home into a cozy studio where you can enjoy peace. Of course, if you feel that renting a studio space works better for you, that’s a perfectly valid choice. Just keep in mind that it can get a bit pricey over time, so it’s worth weighing your options.