Get grips in Landscape Photography with composition
In this article, we have mentioned some top photography tips to help the compositions in your landscape scenes.
Landscape photography is the most popular and used genre in all eras. Through this photography, you can get out in the great outdoors, practice your hobby, and explore new locations with your camera. Here, we have shared some tips to improve your landscape photos that start with composition and how to use it.
The good thing about landscape photography is that you can make the perfect composition of your shots, unlike sports or wildlife where you have to shoot and frame with lightning reflexes.
Landscape photographers will nail the composition with pro tips and then return to place several times until they get with the perfect light, now do not be down when you get a good composition but the light looks are down on your initial try – keep doing it for more!
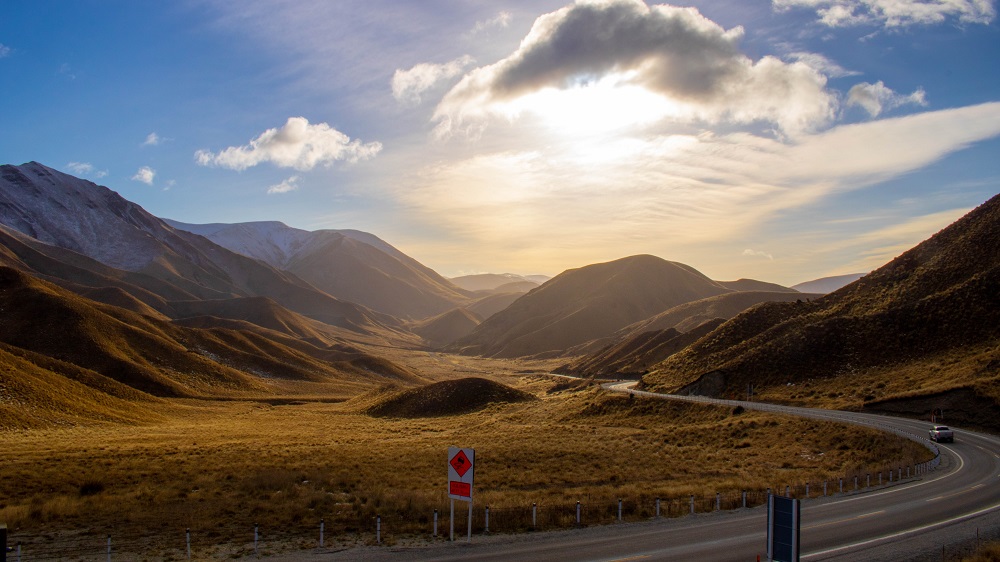
01 Use leading lines
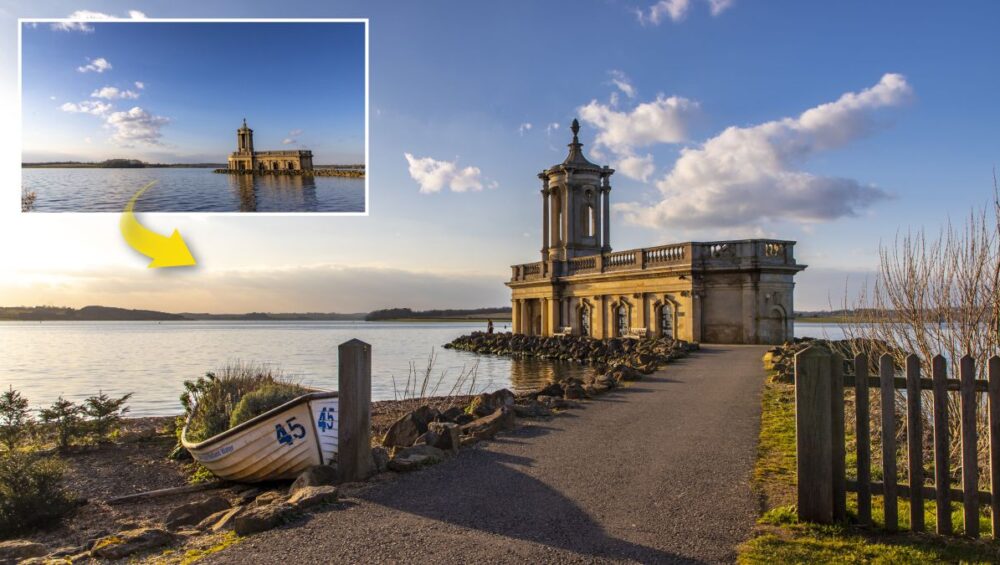
Leading lines are important factor as they lead the eye towards your focal point. Without them, the viewer’s eye can get confuse and it’s unclear where is the focal point. Use and find leading lines in your portraits to make the eyes exactly towards the shot you want to be focused.
Let’s talk about shot of Normanton Church, there we saw multiple leading lines, from the horizon, the cloud, and the path, all pointing towards the church. Look for ways like stepping stones, paths, fences, and more when you are using this trick, and try to make focus towards the middle of the frame.
02 shot ‘active’ in your space
Focus on the subject and direct your scene accordingly and pay attention to how close it is to the edge of the frame, recomposing can make the shot around your focal point ‘active,’ making the photo work harder and eye-catching.
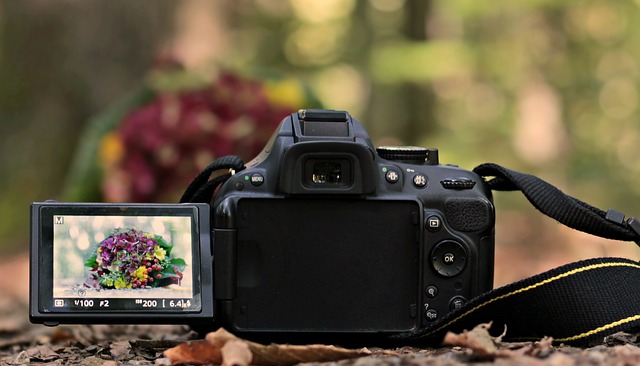
03 Use 3×3 grid
Use 3×3 grid over your image when using the EVF electronic viewfinder, in this way you can easily compose using the rule of thirds in real-time. On this point, you divide your frame up into 9 equal boxes and position the horizon on one of these lines, or on your focal point between a horizontal and vertical line.
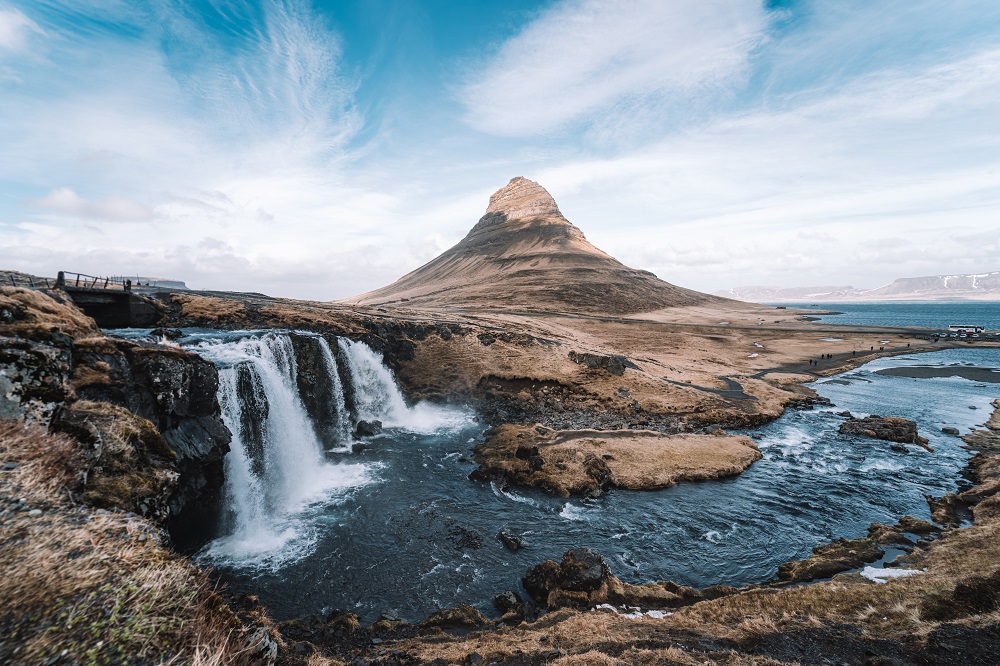
04 Foreground in the frame
General rule of thumb can be used to improve the composition of your landscape photographs by including some mid-ground, foreground, and background. This technique can be difficult when capturing with a telephoto lens as it will give you a ‘compressed’ points. For some shot like a bail of hay is taken with wide-angle and standard lenses, but some foreground shots actually help cement the bottom third of the picture and enhance the overall depth of the picture.
When you focus on the third of the way into the scene with a medium to high aperture of f/11-16 for good overall depth of field then it helps you to get everything focused from the foreground all the way to the clouds in the background.

 Entry level full frame mirrorless
 Mid-range Mirrorless Cameras
 Top-end Mirrorless Cameras