The Importance of Audio Quality in Video Production
When we think about video production, visuals often steal the spotlight. However, one important element sometimes doesn’t get the attention it deserves: audio! The audio component is vital in improving the overall quality of video production and truly enriching the viewer’s experience.
In this blog, we’re excited to explore the significance of audio quality in video production and discover the different ways it can enhance the final product. Let’s jump right in!
Importance of Audio Quality
A well-executed audio with high quality can truly work wonders for your video production! It can elevate your project, transforming something average into something truly amazing. Discover more about the importance of sound quality in video production!
A Clear Dialog For Everyone
Clear dialog is so important for effective video communication, whether you’re creating a narrative film, documentary, or corporate video. When audio quality falls short, it can make things frustrating for viewers and may cause them to disengage. On the flip side, well-captured audio provides crisp dialog, allowing viewers to truly connect with the content and grasp the message being conveyed.
Making the Mood and Atmosphere
Audio is such a powerful way to evoke emotions and set the perfect mood for a video! Just picture a chilling horror film without those spine-tingling sound effects, or a touching romantic scene missing a beautiful melodic score. The right audio elements, like music, ambient sounds, and clever sound effects, work together to create an enchanting atmosphere, drawing viewers into the story and enriching their emotional experience.
Improving Visuals and Visual Storytelling
Visuals are truly stunning, and when paired with the right audio, they become even more amazing! High-quality audio not only enhances the visual impact but also makes the experience more engaging and memorable.
Sound effects add realism to action sequences, while ambient sounds create an incredible atmosphere in the scenes. The wonderful synergy between audio and visuals really strengthens storytelling in video production, captivating the audience and conveying the message in a delightful way.
Keeping Up With The Continuity
In video production, ensuring continuity is key to creating a smooth and enjoyable viewing experience for everyone. Consistent audio across shots ties the visuals together. Well-crafted transitions and a uniform audio mix prevent distractions from sudden sound changes. Maintaining audio continuity gives the production a professional feel.
Improving Accessibility
Inclusive video production prioritizes accessibility. Audio plays a vital role in ensuring that videos are accessible to everyone, including those with hearing impairments. By providing accurate captions and subtitles, we empower individuals who are deaf or hard of hearing to fully engage with the content and enjoy the experience just like anyone else.
Audio descriptions assist visually impaired individuals by narrating actions and essential visual details. Proper audio integration broadens audience accessibility and promotes inclusivity.
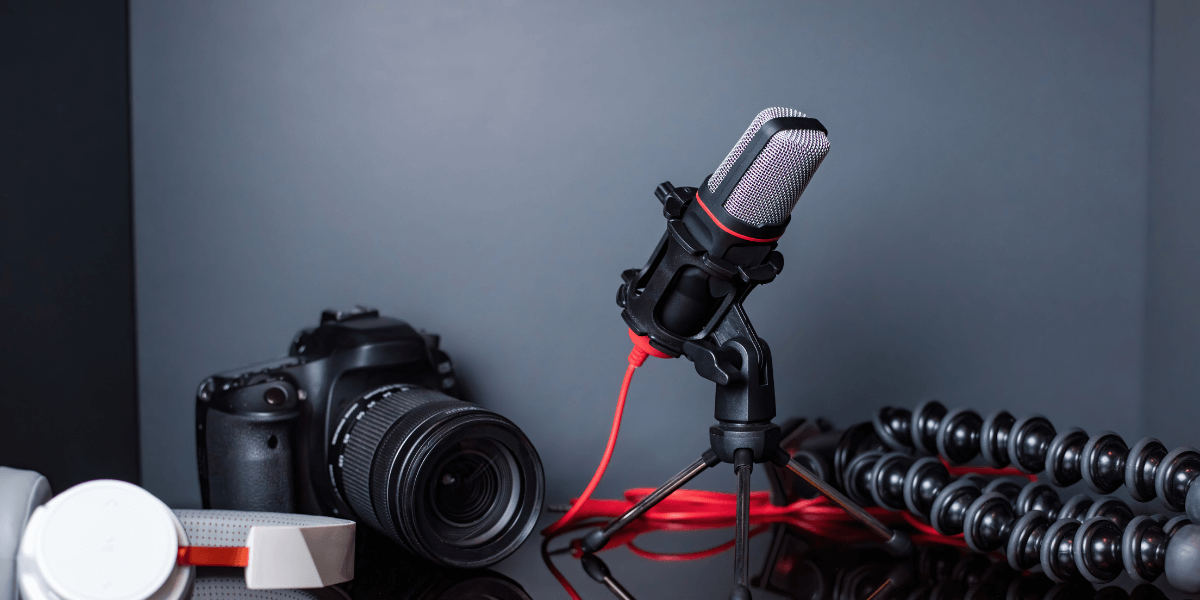
Audio Equipment You Need for Video Production
When it comes to achieving professional-quality video and audio production, having the right equipment is key! It’s worth considering an investment in the following options:
Microphones
- Lavalier Microphones are ideal for interviews and presentations. They can clip to clothing, making them ideal for people on the go.
- Shotgun Mics – Ideal for directional sound in film.
- USB/XLR Microphones – Ideal for podcasting and studio recording with high-quality audio, though they can be costly.
If you’re on the hunt for a great price on BOYA BY-MM1 Microphone in Pakistan, there’s no need to worry! Golden Camera has just what you need!
Audio Recorders
- Zoom H6 – Portable recorders for quality sound capture.
Mixers and Interfaces
- Rodecaster Pro – For podcasting and live mixing.
- Focusrite Scarlett – Ideal for studio-quality recording audio.
Soundproofing and noise reduction
- Pop Filters and Windscreens Reduce unwanted plosives and wind noise. Certain words create a “pop” sound, which can be particularly jarring in audio.
- Acoustic Panels Enhance recording quality indoors. They come in various shapes, sizes, colors, and styles and effectively reduce indoor echoes.
Picking The Right Software
The software you choose to record with and the settings you pick ahead of time will play a big role in determining the audio quality you capture. Read about the software that you can choose:
Panopto
- Panopto has a colored audio meter beside the video preview. Users can adjust volume at the midpoint of the green area, with peaks reaching the yellow area.
Adobe Audition & Premiere Pro
- Adobe Audition is great for audio production and editing. It’s perfect for creating high-quality audio for projects. Adobe Premiere Pro also improves audio in videos, including voice-overs.
Other third-party applications give you many options to control audio during production.
Best Practices When Recording
The right microphone technique is important for clear audio recording and optimal input gain. Here are some tips for improving audio for video:
- Before diving into your actual content, make a quick test recording! Listening to it can help you catch any potential audio issues early on, making your project smoother and more enjoyable.
- Stay 3 to 5 inches from the mic.
- A slight downward angle pointing towards your mouth is ideal; this helps minimize those pesky plosives and sibilance. For context, plosives are those “popping” sounds from P or T sounds, while sibilance refers to those sharp S sounds. A pop filter can be an ideal addition to help control plosives!
- When you speak into the mic, think of addressing a small group, project your voice loudly and clearly. Enunciating well and maintaining a steady volume and tone throughout are super important.
- If you’re recording classroom lectures, remember to repeat students’ questions for clarity before answering them.
- And if you stumble during your recording, no worries! Just pause for 3 to 5 seconds before rephrasing the part you want to redo. This little trick can make editing a breeze later.
Audio quality depends on your equipment, practices, and gear. Luckily, BOYA stands out in the industry when it comes to audio solutions! We’re excited to offer you a fantastic price on the BOYA BY-DM500 podcast microphone in Pakistan, so you can easily upgrade your audio quality!
Final Thoughts
Audio is more than just background noise; it’s a core part of compelling video production. From clear dialog and mood-setting music to immersive sound effects and accessibility features, great audio transforms videos into powerful, engaging experiences. Investing in the right tools and techniques can elevate your projects and truly captivate your audience.