How to do a convincing head swap in Photoshop?
Swap faces and capture everyone’s best look
Sometimes a photo is perfect, except for that one face. They might be blinking or making a funny face, ruining an otherwise amazing shot. But if you have another photo of them, you can swap out a blinking face for a warm smile. A face swap is a great way to fix a family photo, for example — edit photographers need to make all the time.
Even if you’ve never seen what’s trending on social networks like Snapchat you’ve probably seen selfie face swaps, face swap memes, or even mind-boggling celebrity deepfakes, fake videos of well-known figures. Novelty face swap apps are a dime a dozen on Android and iOS, but face swaps can look better than those done on a free app for iPad or on smartphones. With Photoshop, no one will know your sister didn’t smile for the family photos. There are several methods for doing a professional-level face swap with Adobe products.
Face swapping with mask layers.
If you have photos of similar size and composition, it’s easy to layer them on top of each other in Photoshop for a basic face swap. Just follow these steps:
Set the face you want to swap in as a bottom layer, and the picture with the face to be replaced as the top layer.
Line up the faces in the two pictures. Use the Auto-Align feature and make sure that the two figures you want to join together roughly align.
Add a white mask layer onto the top. Set the opacity to 100%.
Select the Brush tool. Set the opacity to 100%. A softer brush style tends to work well for this kind of work.
Using the black brush, paint over the face you want to swap out on the mask layer. As you paint over the mask layer, the face beneath it will show through in real time.
This method works with pictures that are roughly the same size and composition. Sometimes, though, you want something a bit more complex, such as a cat face swap or trying your hand at a new face swap meme. For those moments, you’ll need to explore a different set of Photography skills.
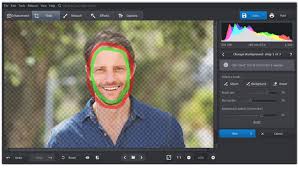
Face swapping with Object Selection
Photoshop’s Object Selection tool lets you grab whatever you like from a photo. You can use it to grab a single feature, like an eye, a nose, or an entire face or head. Using the Object Selection tool you can cut out the face you want to swap into an image. When you do, save it as its own layer.
Blending and color-correcting a face swap
The lighting and skin tones of people’s faces can vary wildly, and sometimes one person’s look can change across different photos. You’ll almost certainly have to correct for subtle differences between the two photos if you want your face swap to look professional.
Match the multiple skin tones with the Match Color feature (Image › Adjustments › Match Color), using whichever image you want to match colors from. Gradually adjust colors to match the skin tones together. Use the Blur tool to match the amount of blur on the head and face, and use Auto-Blend Layers with Seamless Tones and Colors selected to merge the face and body layer together.
Depending on your inclination, you can make the face swap subtle and natural-looking or over the top. Regardless of what you want to do, Photoshop provides the tools and flexibility to combine images in whatever way you need.
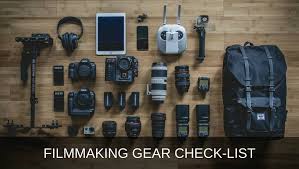
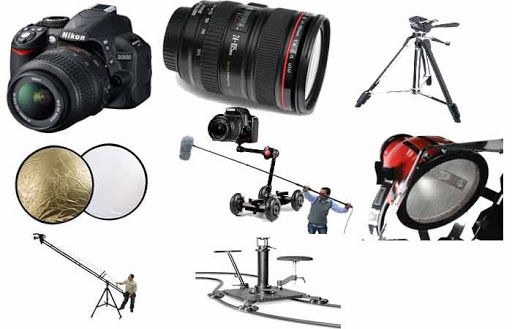
For these skills you need equipment, so buy the best products from Golden camera today!