Blog
How to Avoid Blurry Photos Using Lenses
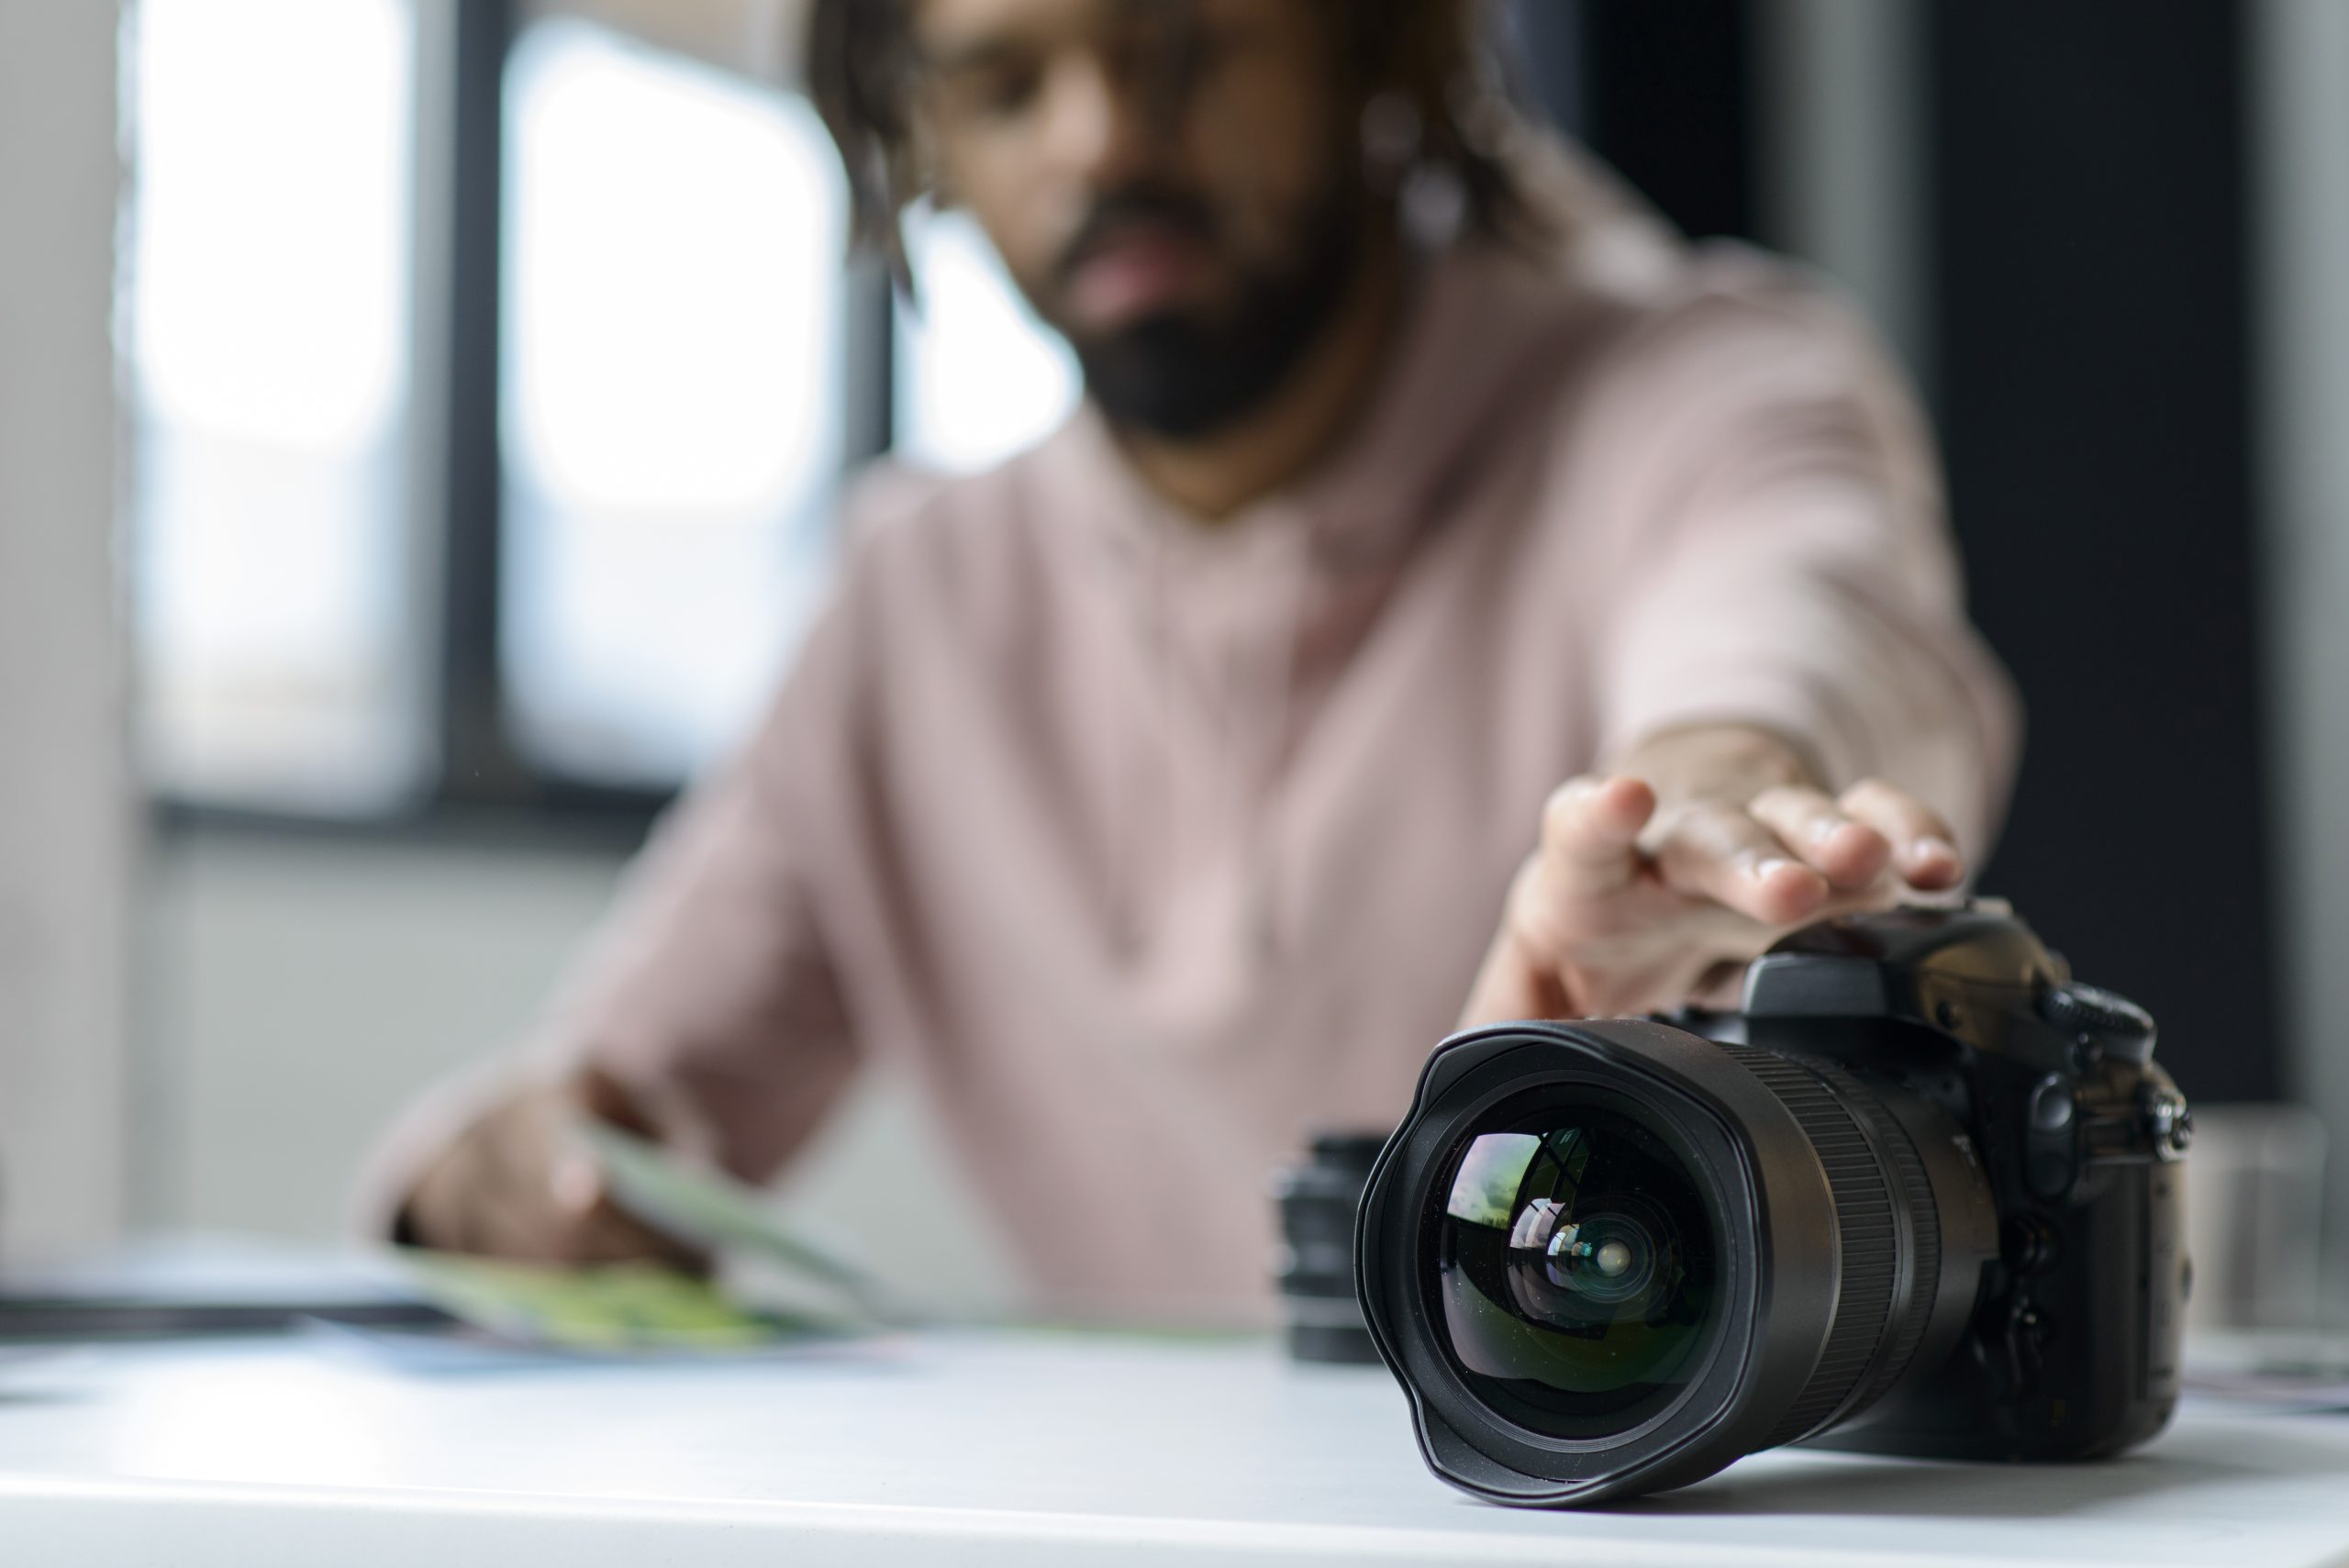
Blurry photos can be frustrating. You line up the perfect shot, press the shutter, and the result looks soft or out of focus. Capturing weddings, landscapes, street scenes, or product shots demands sharpness. To consistently avoid blurry photos, it helps to understand how your lens works and how to control it properly.
In this guide, we will break down practical, field-tested methods to help you improve clarity. These are realistic, easy-to-follow, tips to avoid blurry photos using a lens designed for photographers who shoot in diverse lighting and outdoor conditions.
Understand the Root Causes of Blur
Before fixing the issue, you need to identify the cause. Most blurry photos happen because of:
- Camera shake
- Subject movement
- Incorrect focus
- Poor lens settings
- Low light limitations
- Front/back focus calibration issues
- Diffraction at very small apertures (f/16–f/22)
- Dirty sensor
Each problem requires a different solution, yet most of them can be minimized with proper technique.
Essential Lens Sharpness Tricks Every Photographer Should Know
1. Choose the Right Shutter Speed for Sharpness
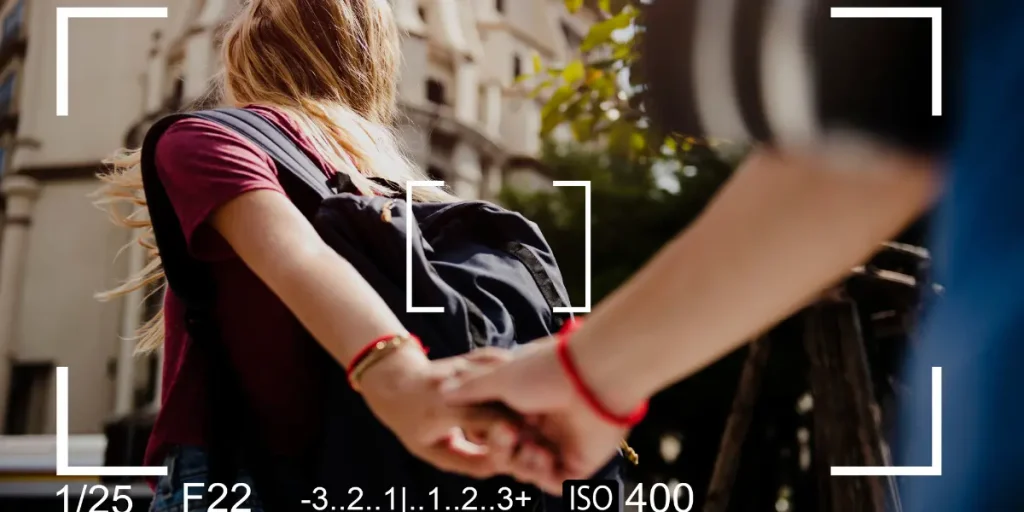
A common mistake is using a shutter speed that is too slow for your lens. A simple rule is this: your shutter speed should be at least equal to your focal length.
If you’re using a 200mm lens, your shutter speed should not drop below 1/200 second. This basic adjustment can dramatically prevent camera shake in photos. If your subject involves motion, such as sports, wildlife, or children, you need to use a faster shutter speed. Motion blur is distinct from camera shake; a quick shutter speed freezes the action and maintains clarity.
2. Master Proper Focusing Techniques
Many beginners rely on automatic multi-point focus, but one of the most effective lens sharpness tricks is learning to control focus manually. Switch to single-point autofocus and manually place the focus point on your subject’s eyes or key detail.
When shooting at wide apertures, even slight movements after focusing can shift the focal plane. Instead of focusing and recomposing, move your focus point within the frame. These small changes improve accuracy.
3. Optimize Your Aperture Settings
Most lenses are not at their sharpest at their widest aperture. If your lens opens to f/1.8, try shooting at f/2.8 or f/4 for improved clarity. This slight adjustment enhances contrast and sharpness across the frame.
Every lens has a “sweet spot”, usually two to three stops down from its maximum aperture. Testing your lens will help you identify where it performs best. To capture consistently sharp photos with strong low-light lens performance, understanding aperture behavior is essential.
4. Improve Sharpness in Low-Light Situations
Low light is one of the biggest challenges photographers face. Instead of lowering the shutter speed too much, try these steps:
- Increase ISO moderately
- Use a wider aperture (without going to extremes)
- Add controlled lighting when possible
Sharpness in low light is about balance. If you push one setting too far, image quality suffers. When upgrading gear to improve low-light performance, research the camera models from the leading brands carefully. Check the camera prices in Pakistan and compare models to buy your required option at Golden Camera. We offer genuine products with a valid warranty at the best prices.
5. Stabilize Your Camera Properly
Your posture is more important than you might realize. Keep your elbows close to your body. Support the lens from below. Breathe steadily before pressing the shutter. These physical adjustments significantly reduce micro-movements.
A tripod is highly recommended when maximum sharpness is required. It guarantees stability. When shooting commercially or creating content regularly, a stable setup ensures reliable outdoor photography lens clarity.
If you’re shooting video or moving shots, a gimbal can help with the lens blur prevention. Stabilization tools are especially useful for wedding videographers and event shooters in Pakistan who work in dynamic environments.
6. Use Image Stabilization Features Wisely
Modern lenses often include optical stabilization. Turn the camera’s stabilization on when taking hand-held pictures at slow shutter speeds. But if the camera is on a tripod, turn stabilization off. Leaving it on while on a tripod can actually cause problems. This small habit separates amateur results from professional ones.
7. Keep Your Lens Clean and Well-Maintained
It sounds simple, but dust, smudges, and fingerprints reduce contrast and perceived sharpness. Clean your lens regularly using proper microfiber cloths and cleaning solutions. In outdoor conditions across Pakistan, dusty roads, coastal humidity, and city pollution, lens maintenance becomes even more important.
8. Use the Right Lens for the Right Situation
Not all lenses perform equally in every scenario. A telephoto lens requires different handling compared to a wide-angle lens.
For example:
Understanding your equipment helps you apply the right tips to avoid blurry photos from the lens at the right time.
- Telephoto lenses amplify camera shake
- Wide lenses exaggerate edge softness at wide apertures
- Macro lenses require precise focus control
9. Pay Attention to Depth of Field
If only a small portion of your image is sharp, your depth of field might be too shallow. This often happens when shooting portraits at very wide apertures. Increase your aperture number slightly to ensure more of your subject remains in focus. This is especially useful in group photography and wedding shoots.
10. Avoid Over-Reliance on Autofocus
Autofocus systems are powerful, but they are not perfect. In tricky lighting or low contrast scenes, switch to manual focus when needed. Use focus magnification tools if your camera supports them. This adds precision and improves overall clarity.
Final Thoughts
Blurry photos are rarely caused by one single mistake. They result from a combination of settings, handling, and lens behavior. When you understand shutter speed, aperture, stabilization, and focusing techniques, you gain full control over sharpness.
The key is consistency. Apply the right techniques, test your equipment, and critically evaluate your results. With proper practice and the right approach, you can consistently produce sharp, professional-quality images in any shooting condition.
If you’re considering upgrading and researching the price of a camera lens in Pakistan, explore options at Golden Camera. We offer the highest quality lenses from the leading brands to help you upgrade your gear.