Best Nikon Camera for Videography?
Best Nikon Camera for Videography?
Best Nikon Camera for Videography
Nikon cameras may seem expensive, but when you think about all the things you could do with them, it’s worth every penny! Nikon has a variety of options for videographers to choose from, so it can be overwhelming to decide on one. To help make this decision easier for you, we compiled a list of Nikon Cameras best suited for videography!
- Nikon D750
- Nikon D500
- D850
- D5600
*Updated 2021*
If you’re looking for the best Nikon DSLR, it can be difficult to choose because there are so many options. Recently though, Nikon has improved their video capabilities making lower-cost models that give professional results possible. However some cameras make things easier than others depending on your needs and budget.
Choosing one of the best Nikon DSLRs isn’t easy as they’ve drastically improved their video features but not all camera models help produce better videos easily or affordably.
which is why choosing one can depend greatly upon what you’re trying to accomplish with them along with whether this model will work well in terms of price point too.
For photographers running a videography business, price is an important factor to consider when choosing the best camera. This list takes into account features and value for each product so that users can select according to their needs.
Best Cameras For Nikon Videography:
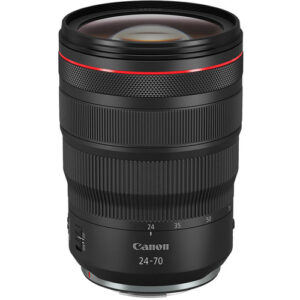
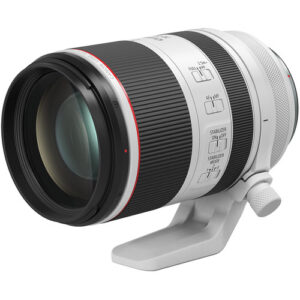
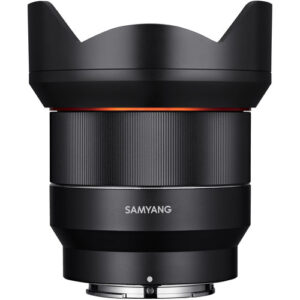
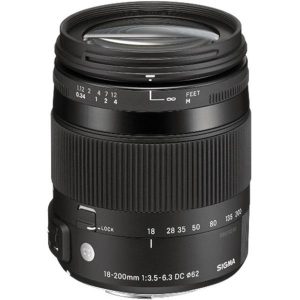
When you’re shooting video, the lens shines much brighter than your camera does. Instead of focusing on an expensive DSLR, it’s better to invest in a high-quality telephoto lens that will make for beautiful footage regardless of what body is attached to it. Check out our top 5 lenses for Nikon videography post if you want more information about different types and options available!
Best Nikon DSLRs for Video
When picking a camera to shoot video, it’s best that you choose models that are capable of shooting 1080p/24fps. This gives your videos the soft ‘film look’ which is professional and high-quality for most business applications.
Nikon D850
If you are someone who is not satisfied with just shooting videos, but wants to shoot high-quality still photos as well (46MP compared to the D750’s 24MP), then you may want to consider getting a Nikon D850.
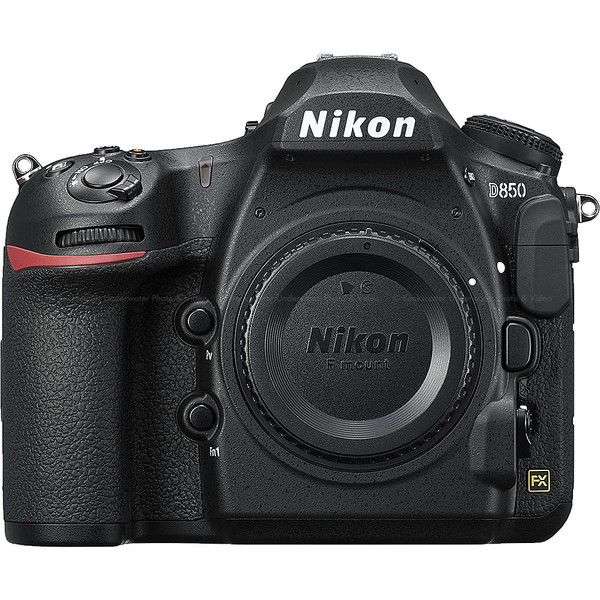
The D850 is Nikon’s replacement for the D810, a perennial favorite of ours that provides high-end results in photo and video at an upper-middle price point.
The Canon EOS 5D Mark IV vs the Nikon D810, there are many features we would actually use often. One such improvement is a tilting screen.
It also includes ultra-slow motion at 1080p using 120fps which gives us amazing detail. When used with slow shutter speeds to produce stunning images like an image.
That looks almost animated rather than simply being pictures taken quickly. One after another by pressing down hard on your finger all day long.
Another feature is Ultra fast 9 fps still shooting along with 61 focus points so even.
Nikon D7500
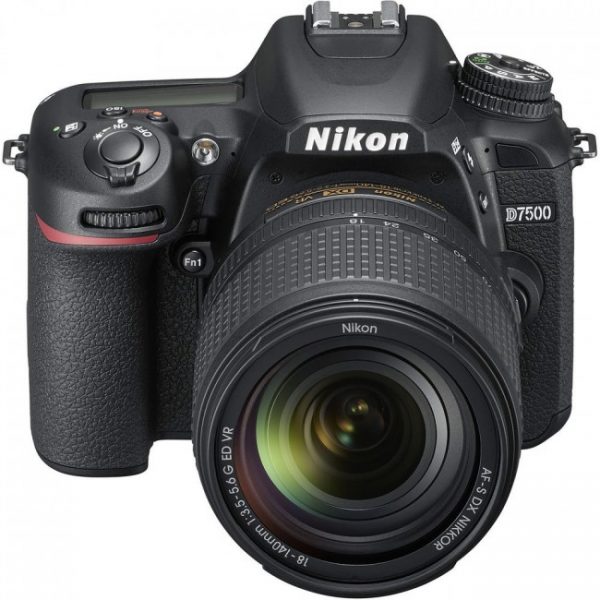
The Nikon D7500 is an affordable and excellent camera, but it’s in the DX line of cameras which have a smaller sensor. The focal distance (zoom) will be more magnified with each lens because the sensors are smaller by between 1.3 to 1.5 times than their counterparts on full frame DSLRs like my old Canon 5D Mark III .
The Nikon D7500 is an affordable yet great performing digital single-lens reflex camera. That has all of its amazing features within this small package for ease. At motion shooting or capturing stills while you’re out hiking or biking around town! Its slightly less expensive price tag comes from being part of Nikon’s DX series instead.