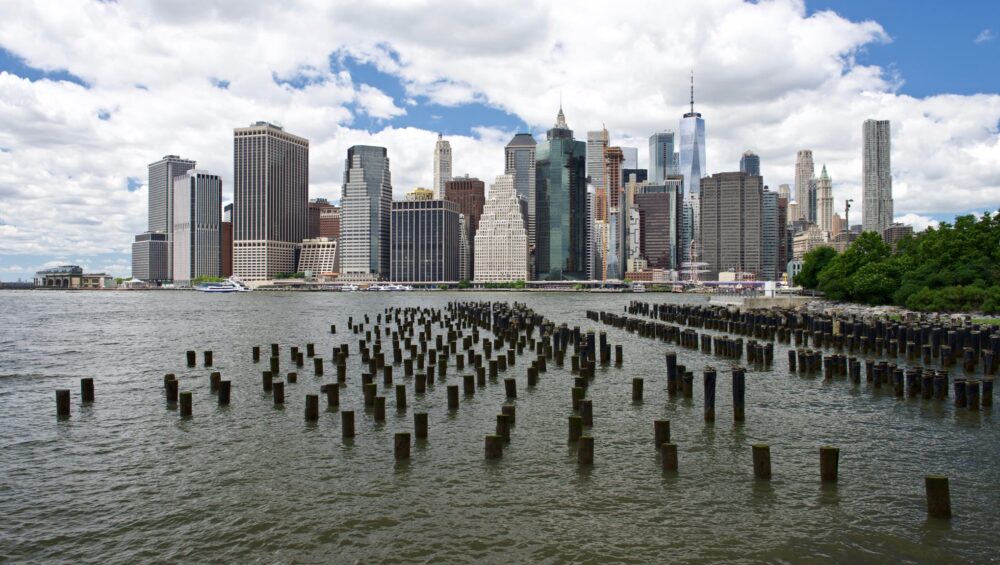
Tips for Amazing Cityscape Photography
When we think of any city either New York or Paris, first their iconic cityscapes come to mind. There is no doubt in this that cityscape photography is so popular. The good part of this photography is that it is not so difficult. Subjects around a city will be clear and still. Find some amazing cityscape photography tips here.
Weather
Right weather results in stunning cityscape photography. Outdoor photography relies on the natural light available. Only natural light is not the only source but mist and Stormy skies can add to beautiful pictures. Weather will surely have an impact on cityscape photography.
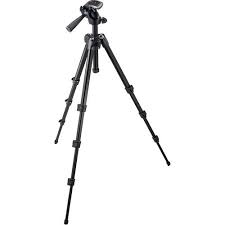
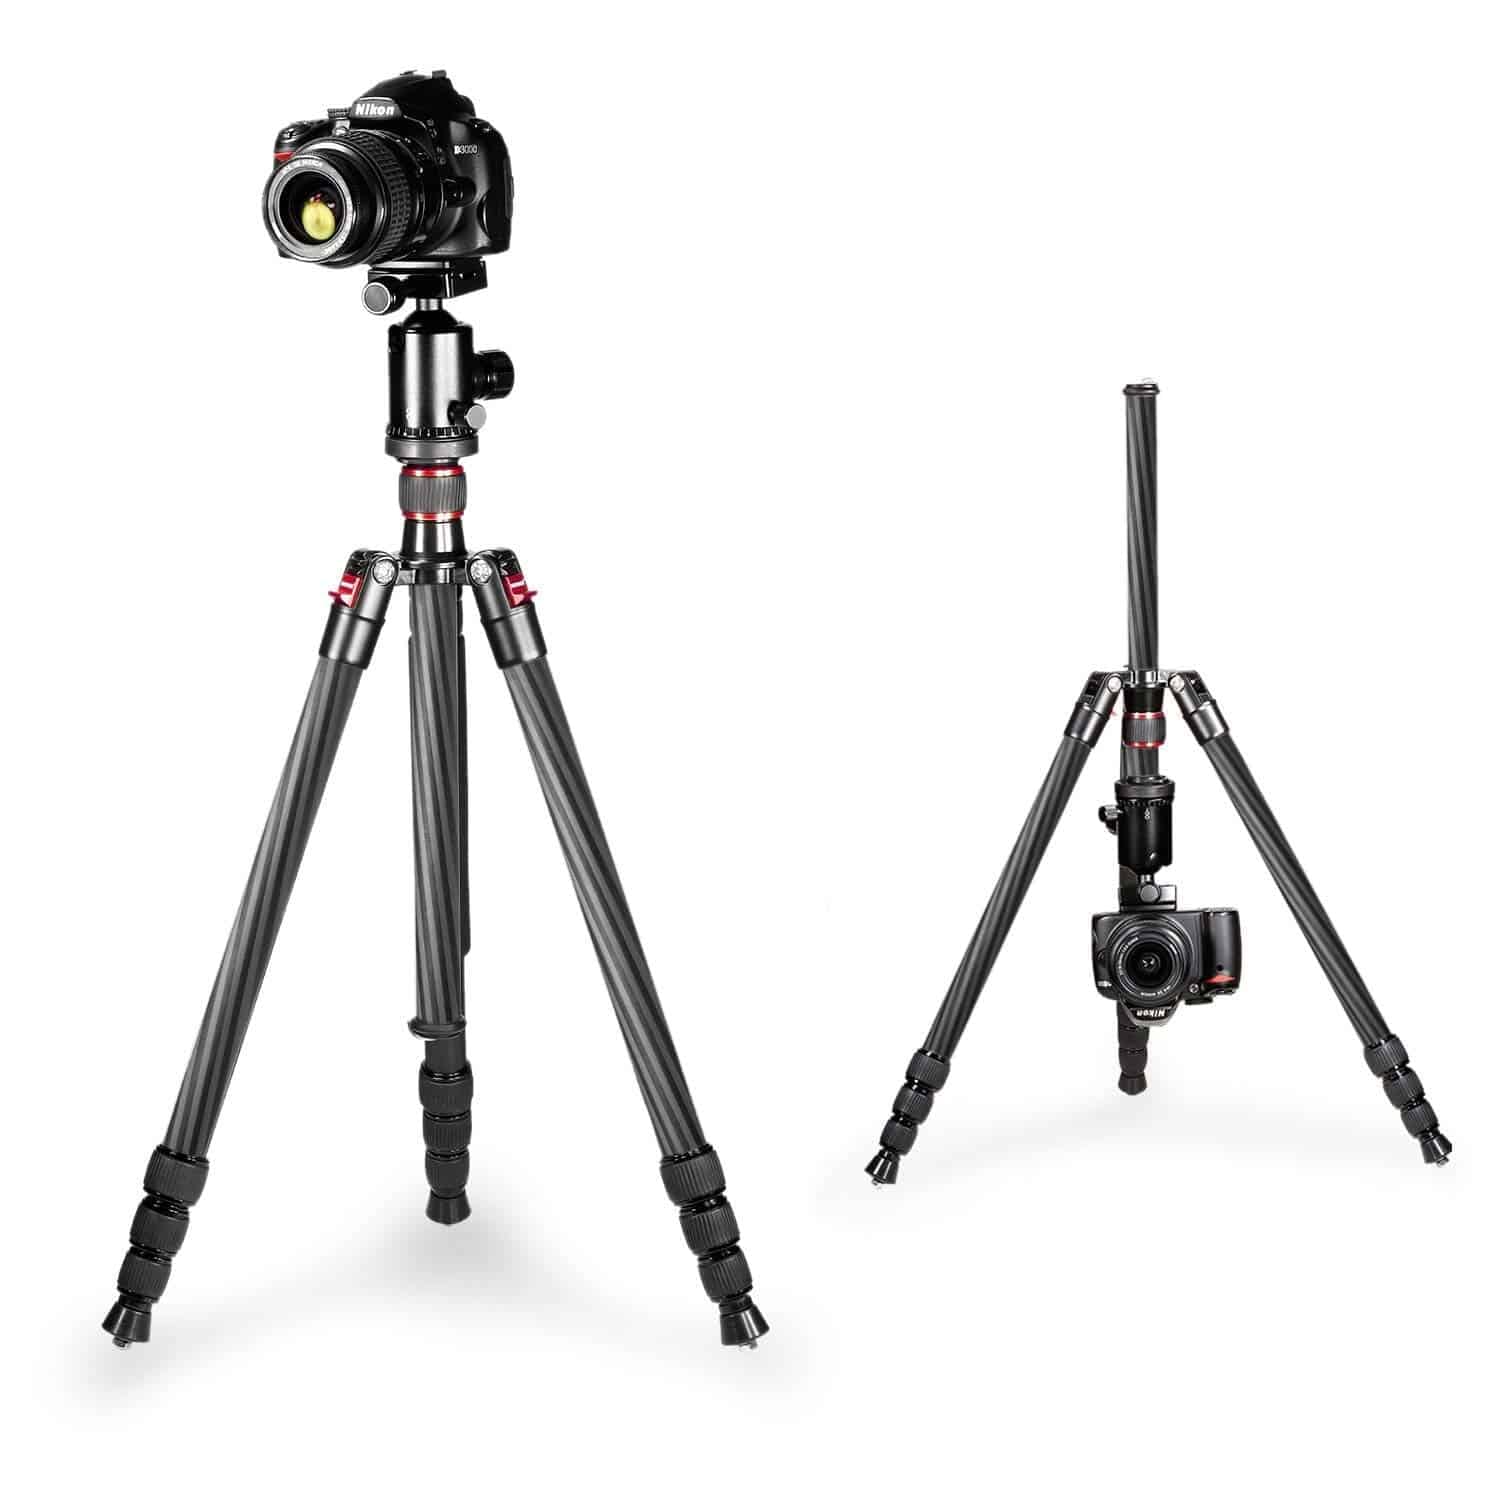
Hands-Free Options
When capturing cityscape it is better to use a tripod and hands-free shutter releases both. These gadgets ensure sharper images and reduce handshakes. At some places you can’t use a tripod, there you can use a sock filled with rice as a portable stabilizer.
Capturing from Rooftop Bars
Usually, big cities have tall buildings and most of them have viewing platforms through which you can capture. But some places require planning. Rooftop bars are best if you can’t find any viewing platforms.
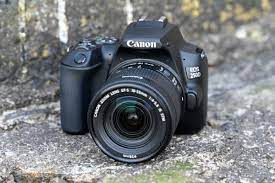
Adjust F-Stop and ISO for Sharp Images
There are some camera settings you want to adjust in cityscape photography. Start with the aperture at f/8 and work your way up. This will give you sharp images. Also, keep your ISO as low as possible. Because higher the ISO, your image will get more noise. When the camera is handheld, keep your shutter speed at 1/125 s minimum.
Combine Framing Techniques
The subject should be in the frame and this composition rule creates a balanced image. Good results can be achieved by aiming at the horizon in your image or you can focus on a point of interest to capture uniquely. A mixture of techniques can be done for the best results.
Focus foreground
The foreground is an important component in cityscape photography. You just need to slight your camera up a little while placing it on the ground. Close-up shots from the ground give great results.
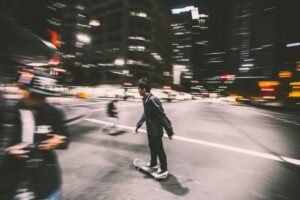
People in the frame
For best outcomes, try to include people in your frame, as this is the important subject moreover it helps in showing the scale of your city. Small figure running, walking, or jumping against large picture is an interesting contrasting element. In this way wall or building is better emphasized in the picture.
Reflections
Try to look for reflections in the image to add balanced symmetry and depth. Reflections can be better captured near bridges over bodies of water or waterfronts. Also, it can be shown in buildings, windows, and puddles also help create abstract images. This gives interesting effects in the picture.
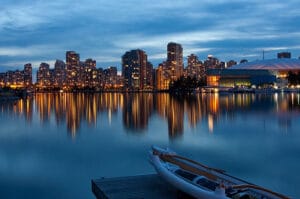
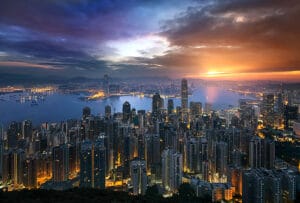
Shooting During Golden Hour and Blue Hour
Golden hour and blue hour is the best time to photograph a cityscape. Golden hour is the time after sunrise and before sunset, whereas blue hour is just after the sun goes down and can last anywhere between 5 to 40 minutes.

Wide Angle Lens
To shoot wider you need to capture from a wide-angle lens. This is important in landscape photography as you need to capture a lot in the frame. It shows the center of your image a bit far, so you might need to crop the image later.
For more guidance or any camera price in Pakistan, contact Golden Camera.


 Final Words
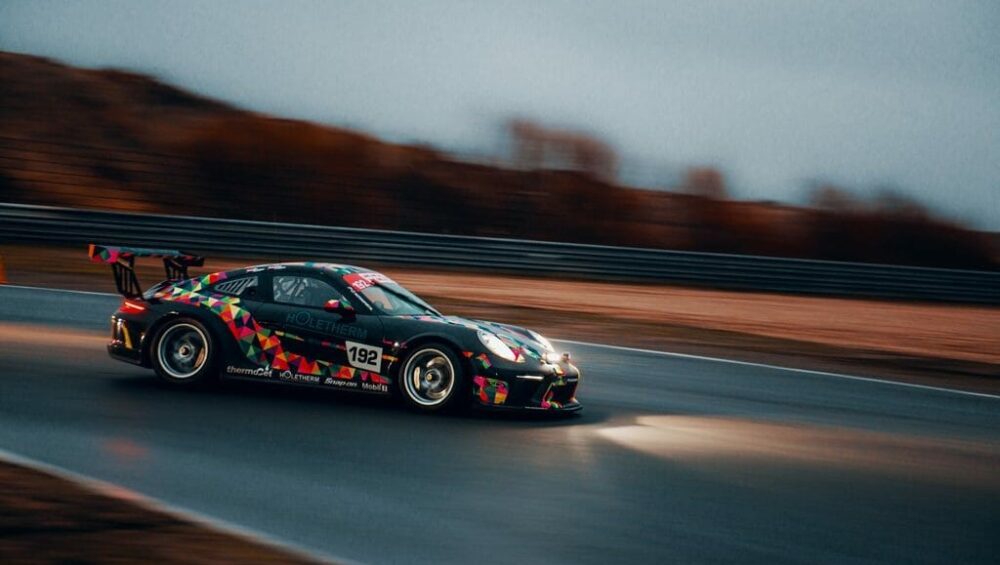
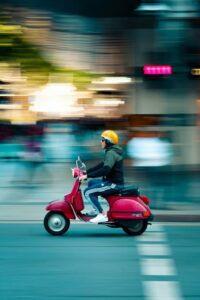
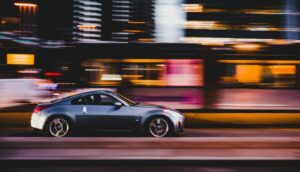
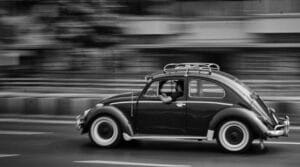 2. Panning and Motion Blur
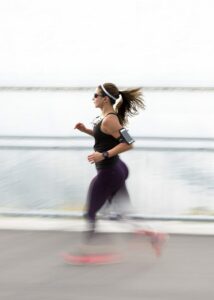

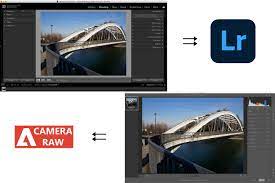
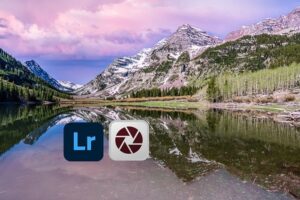 Camera Raw
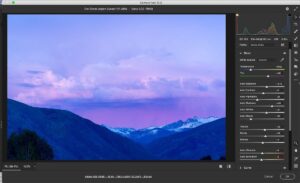
 Camera trick levitation
 Stroboscopic motion
 Part 1: Choose a photo-sharing site
 After reading above mentioned tips now you know how important it is to have correctly sized images and good quality images on your website. Questions is how do you go about making that happen?